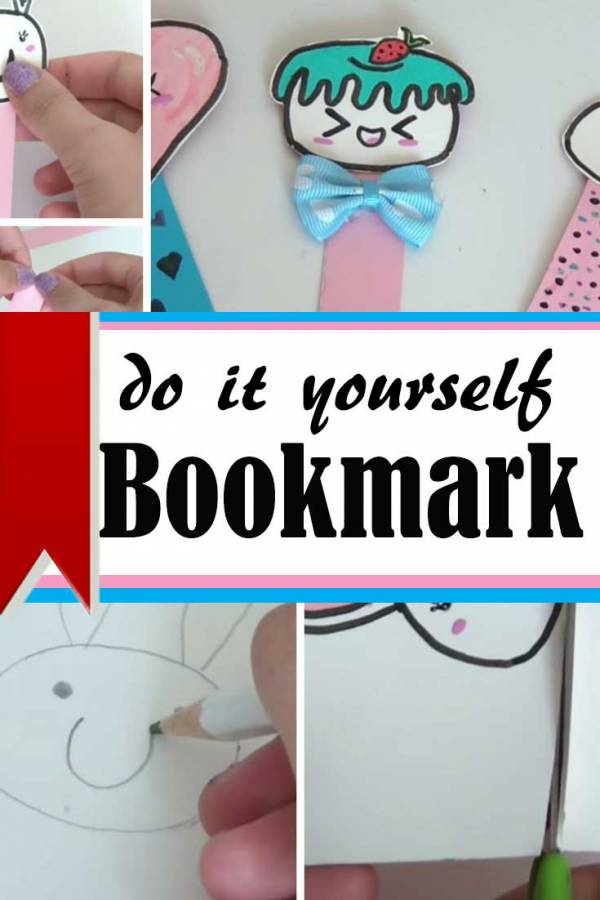
If you're a book lover, bookmarks are essential accessories. They are also helpful for students to mark their books. Instead of purchasing a bookmark, you can make your own adorable and functional marker.
What you need:
- Colored paper
- Pencil
- Scissors
- Glue
- Ruler
- Marker
- Small embellishments
- Paint
- Colored Pen
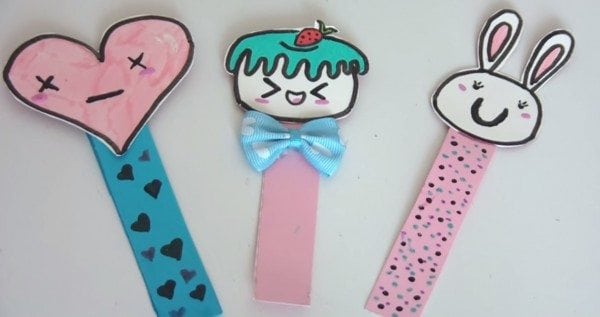
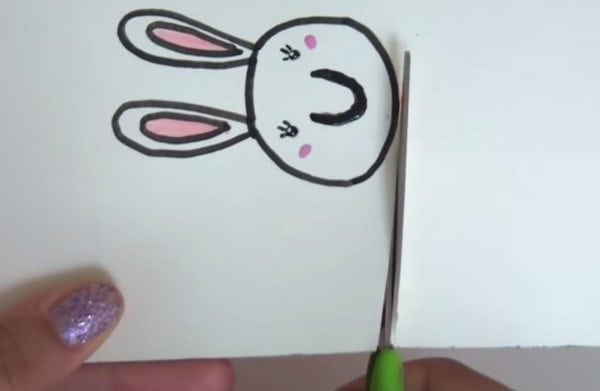
Grab the pencil. Draw a heart or star shape, or anything you like. It could also be an animal or your favorite cartoon character. Make about 3 or 4 drawings depending on how many bookmarks you can make. Color it and then, mark the outline of your drawing with a black marker.

Next, grab the scissors and start cutting your work. Trim along the black outline you made.
Cut a strip of any colored paper, about the width of a ruler. This will serve as the body of your drawing. Fold the strip into half.
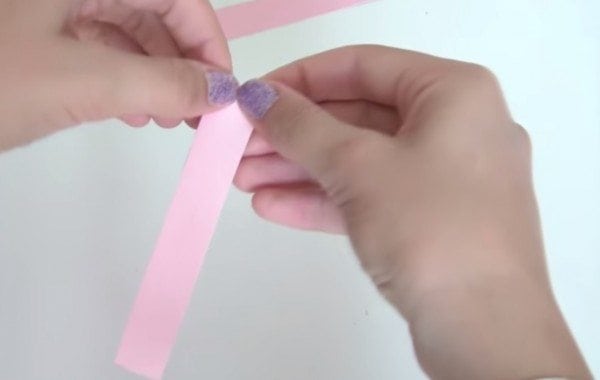
On top of the folded paper, apply some glue then gently put the cut-out drawing. After that, decorate the body with drawings (using a marker), small bows or décor, tiny gems or other embellishments.
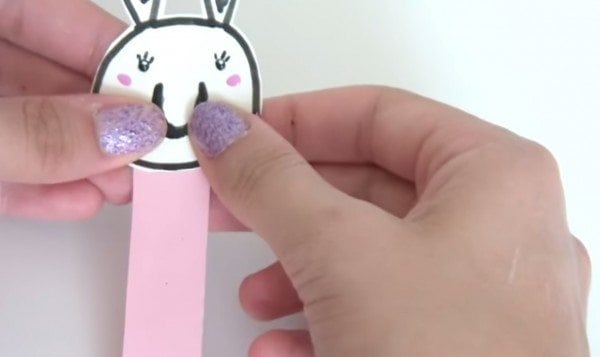
If you're satisfied with how your bookmarks look, you can try them out. They are lovely, cute and customized book accessories you'll be proud of.