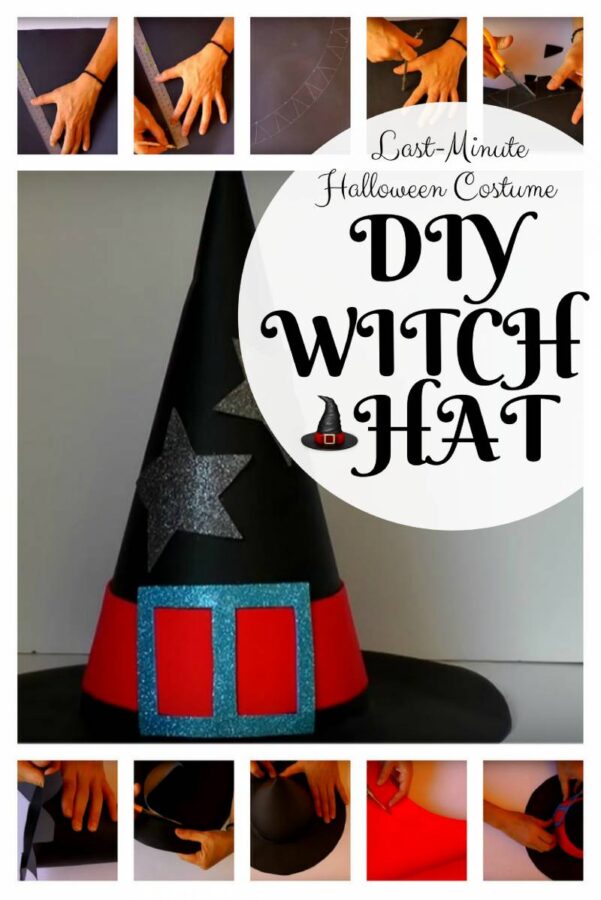
I get it, what with decorating the house and getting your kids' costumes ready, you totally forgot that you had to make one for yourself. Here's a no-sew, last-minute solution to your Halloween costume problem. The classic witch costume is perfect for busy moms. All you need are black clothes, this DIY hat, and a maniacal laugh. A broomstick is optional. Read on for the instructions.
What you need:
- Black and red cardboard
- Scissors
- Double-sided tape
- Compass
- Marker
- Ruler
- Glue stick
Instructions:
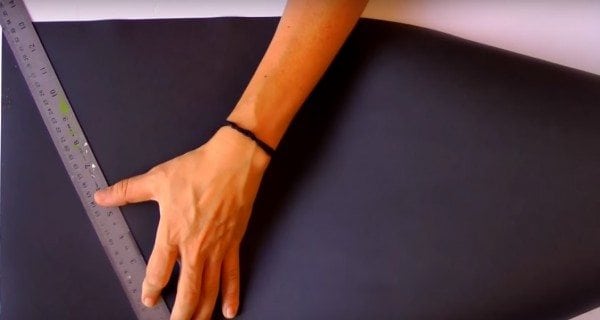
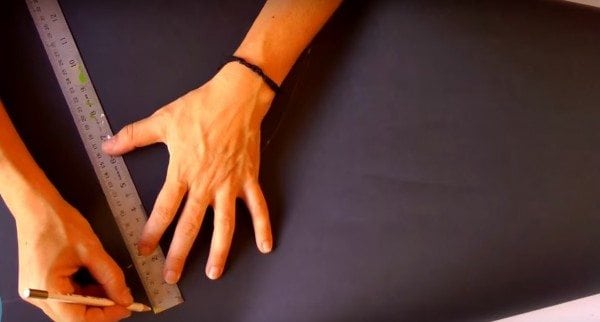
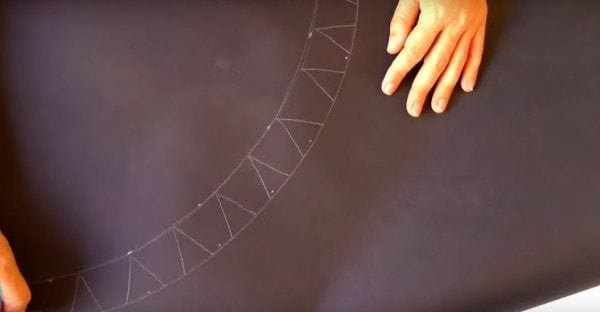
Step 1: Grab the ruler and black cardboard. Measure 34 centimeters from the edge and mark with a pencil. Work your way around the other end to create a quarter circle. Make sure you keep the 34-centimeter distance. When you reach the other end, connect the dots.
Step 2: From the marks you created, measure 4 centimeters and mark. Afterwards, connect the dots.
Step 3: In the space between the two quarter circles, draw small triangles.
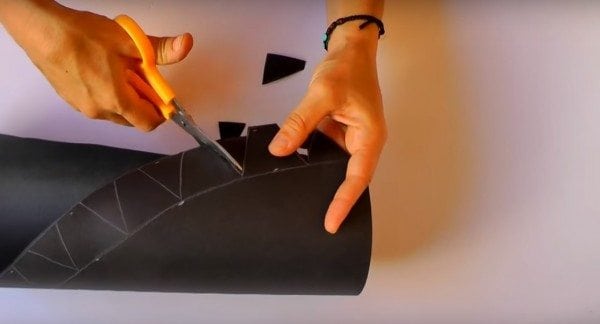
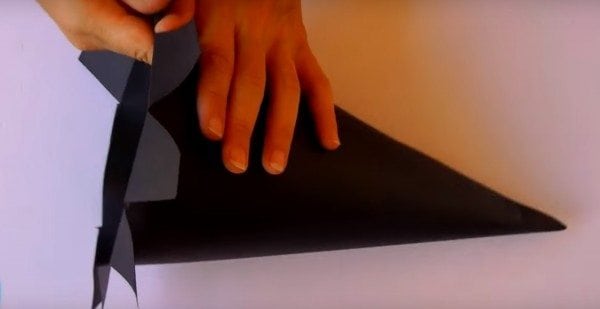
Step 4: Use scissors to cut out the triangles. This will serve as the cone of your hat.
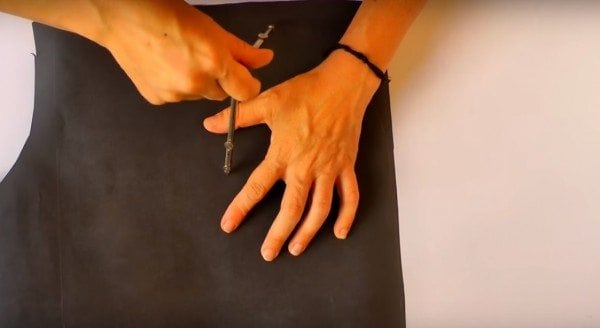
Step 5: On another black cardboard, draw a circle. Position the compass at the center of the paper and measure 16 centimeters from it, then draw the circle. Afterward, measure 10 centimeters from the center and draw an inner circle.
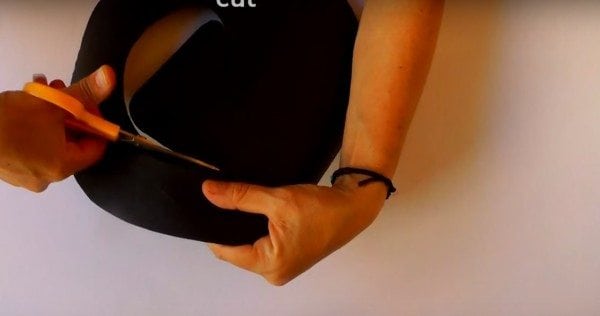
Step 6: Cut out the outer circle as well as the inner circle. This will serve as the base of the hat.
Step 7: Get the cone and put double-sided tape on one side. Stick it to the other side to create a cone-shaped hat. Now, focus on the triangles. Fold them upward and then apply glue on each triangle.
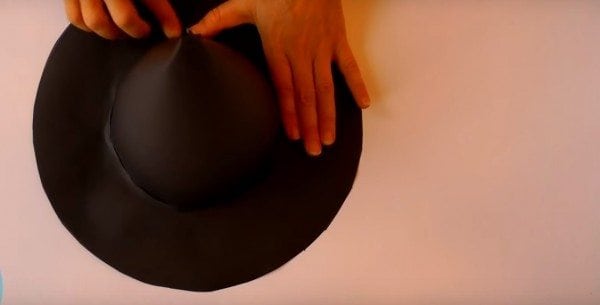
Step 8: Then, grab the base and carefully insert it over the cone all the way down to the triangles.
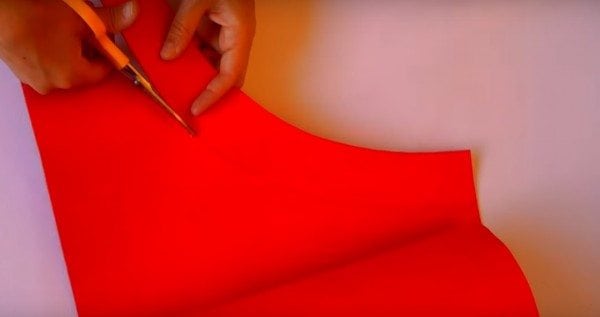
Step 9: Grab the red cardboard and repeat step 1. Connect the dots and make another line about 4 centimeters from the first line. Cut along the line.
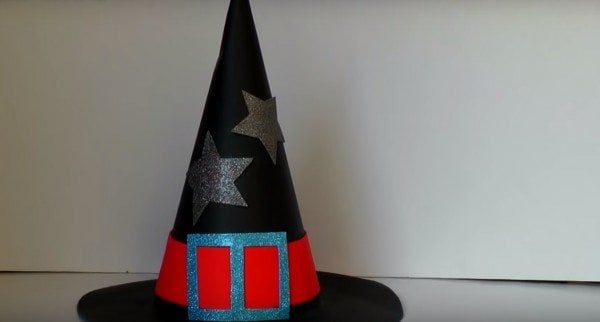
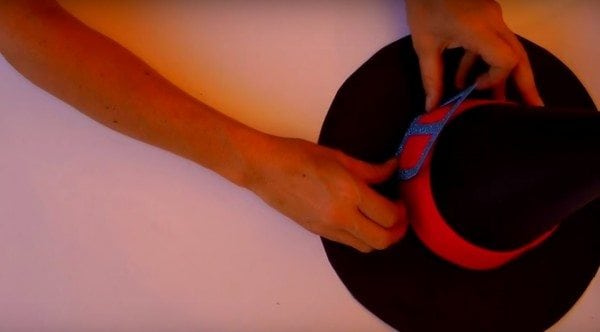
Step 10: Wrap it around the witch hat and secure it with glue. You can also add additional details to your hat such as stars, cats or frogs.
And you are done! Wear to see if it fits. If it is, then you are ready for a Halloween party.