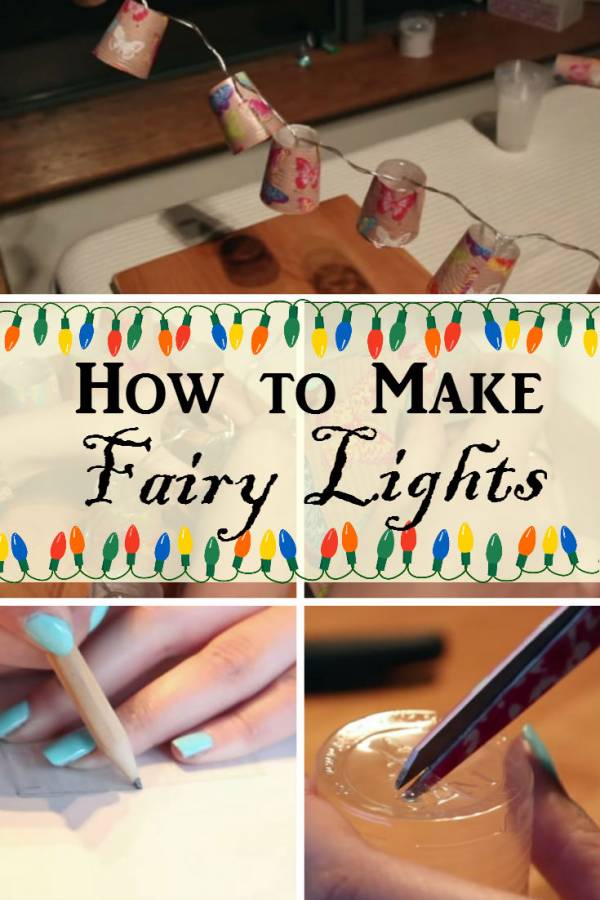
“Happiness is fairy lights in your room at night”. These simple DIY project simply brings a festive mood in your room or in any part of the house. Whether you choose to use them as lighting or simple decor, they are easy to make and inexpensive. Add some twinkle to your home.
What you need:
- Fairy lights
- Wrapper paper
- 6-8 Plastic cups
- Scissors
- Spray adhesive
Cut the plastic cups. Trim the mouth of the cups and put holes on their bottoms.
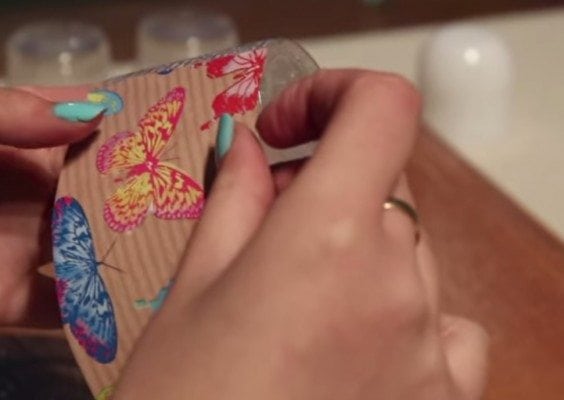
Cut open one glass. This will serve as the template in cutting your wrapper paper. Lay the cup flat on the paper and use pencil to trace it and then, cut it. Make more cut outs depending on the number of your cups.

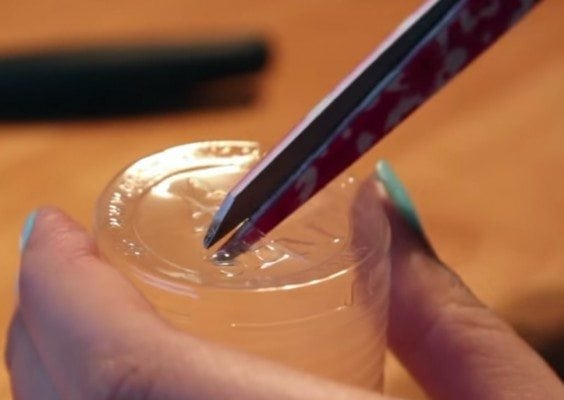
Spray some glue to the cup and carefully stick the paper. Let it dry. Do this with the other cups.
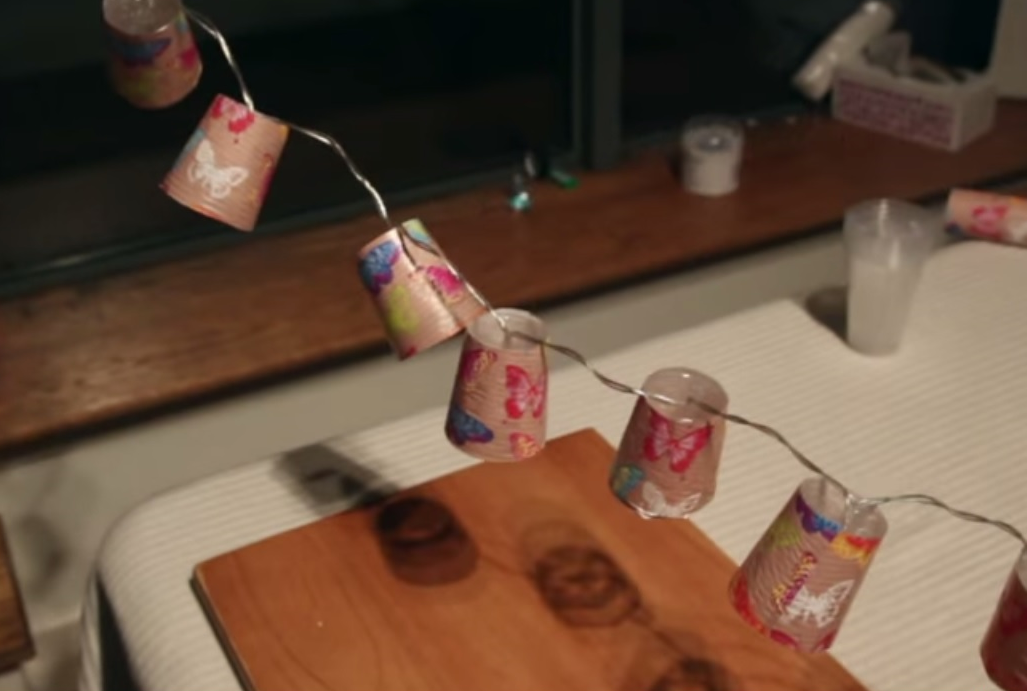
Once dry, grab the lights. Poke each fairy light into the hole you created a while ago on each cup.
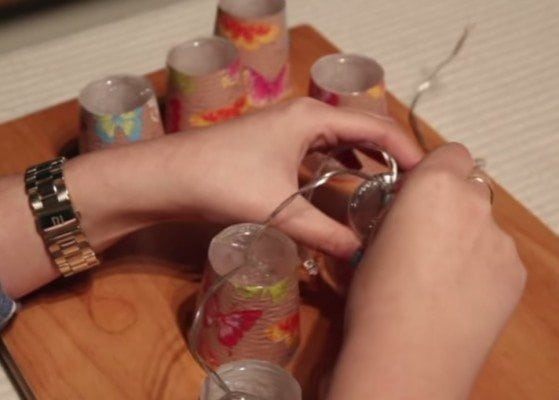
And taraan! They are ready to hang. Lovely fairy lights that effortlessly give every living space a cheery ambiance.