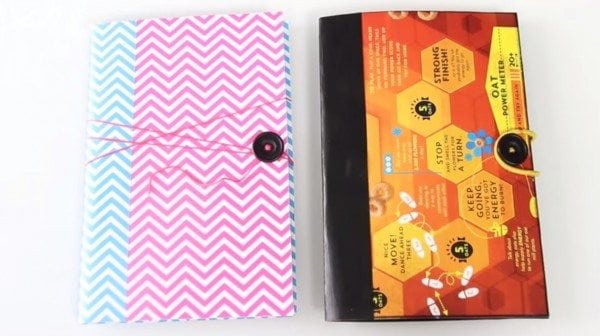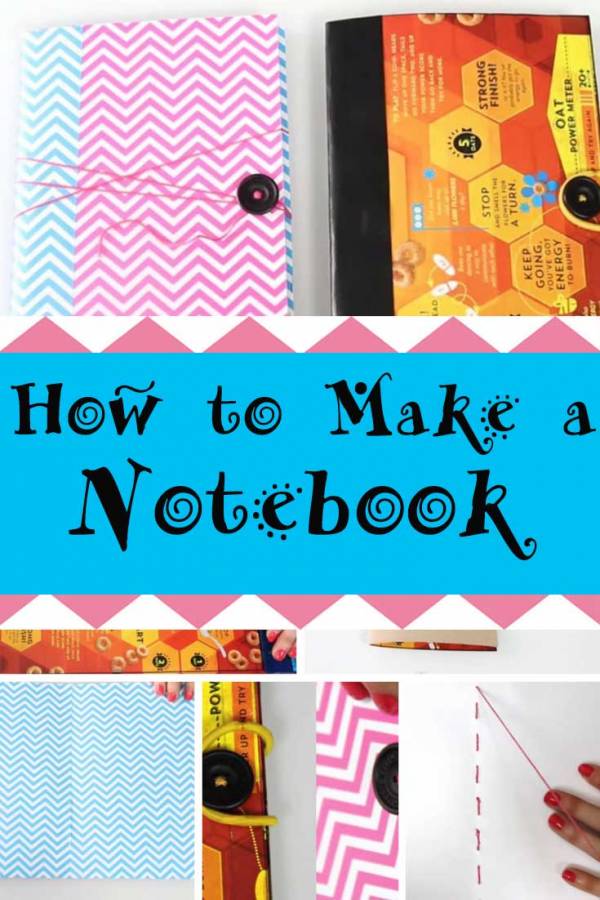
Do you love to write a journal, make your grocery lists or just doodle or sketch? If so, then a handy notebook is a good thing to have in your bag or in your desk. Today, we are going to make a lovely notebook out of a cereal box. I hope you get inspired with this tutorial.
What you need:
- Cereal Box
- Scissors
- Marker or Pencil
- Ruler
- Bone folder
- Button
- Needle and thread
- Paper filler
- Decorative materials (wrapping paper, decorative tape)
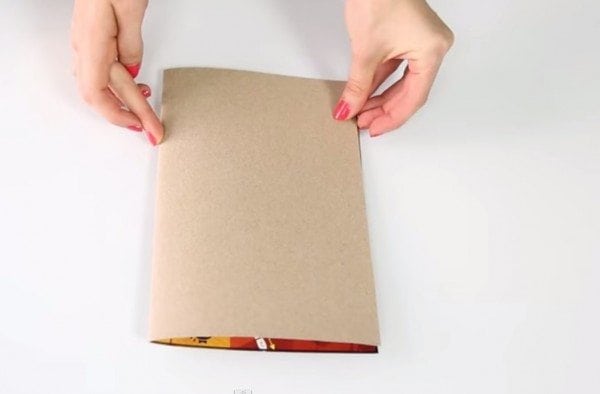
First, open up all the flaps of the cereal box. Then, press it flat on your working area. Grab the ruler and pencil or marker and trace a rectangle on your box depending on the size you want your notebook to be. After that, cut out the rectangle. Ensure the rectangle is a bit taller and wider than your paper filler. In this tutorial, the paper filler is 8.5″ x 11″ so the rectangle is 9″ x 12 “. However, you can trim down the paper filler and rectangle in order to have a smaller notebook.

Next, fold the rectangle into half. To make a clean fold, grab the ruler and bone folder. Place the ruler on the box and trace a line using a bone folder from one end up to the other end. After that, fold the box. You can fold it with the brand label in or out depending on what you want to achieve. Do this also with the paper fillers. Grab the paper fillers and use binder clips to hold them together. Then, fold them into half one by one.
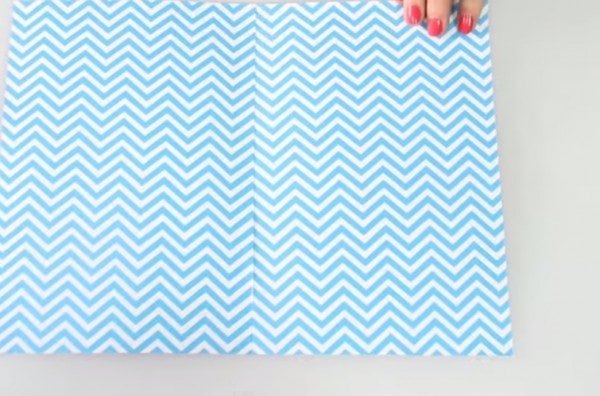
Prepare your decorative materials because it is time to accessorize your notebook. You can use wrapping paper to cover up the both sides of the rectangle. Alternatively, you can paint it up to achieve a stunning notebook.
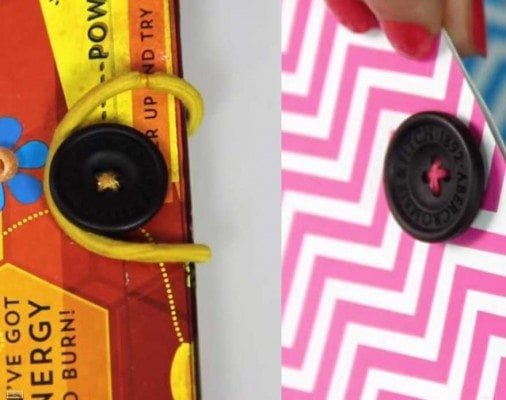
Next, you will create the button closure to seal your notebook. There are two ways to do this. One is to sew the button on the edge of the front side, then glue the elastic band on the other side. All you need to do is to loop the string to the button. Another way is, again, to sew the button with about 3 feet of thread. Make sure the trail of the thread is under the button so all you need to do is to loop the thread around to close your notebook.
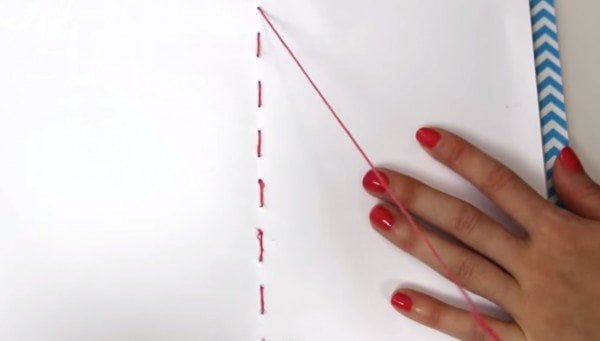
Finally, attach the paper filler. Clip them on the panel. On the middle of the paper filler, using ruler and marker to make small dots about 1/2 an inch away from each other. Prepare the needle and thread. Then, start sewing the paper filler. Start at the back of the notebook, poke the needle up on one mark and down to another. Then, pull the thread away from the notebook. Repeat the process until you've sewn till the last mark. Tie a knot at the end to secure the knot. Cut the excess thread. Close your notebook and apply some pressure for the paper filler to lay evenly.
Put the finishing touch to your notebook. You can add wrapping paper or apply mod podge on your notebook to avoid cracking. And you're done! Functional and creative DIY notebooks to inspire your writings.