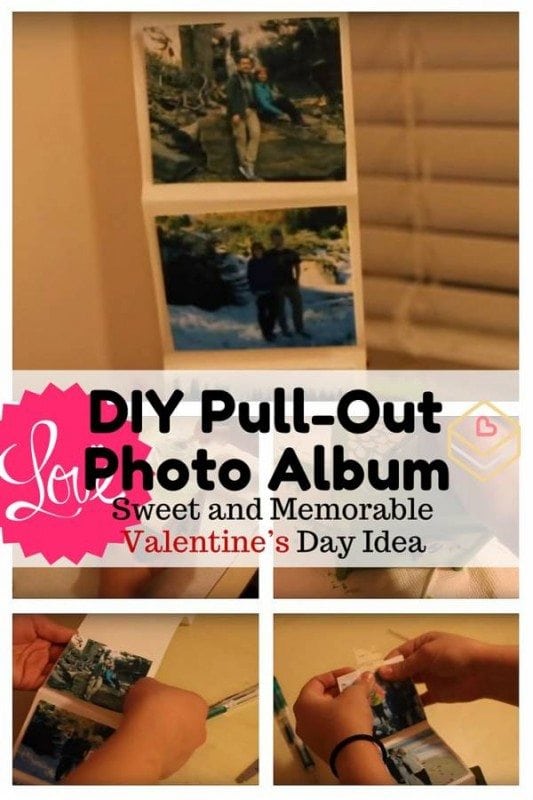
There is no better present than this DIY Valentine’s Day pull-out photo album. This is a unique twist to those old-fashioned photo albums that will surely surprise your loved one. With Valentine’s Day coming up, we have here a DIY tutorial that is super easy, and you can create it even a day before the special day. Read on.
What you need:
- Wooden box
- Craft paint
- Mod Podge
- Paint brush
- Photos
- Cardstock
First, paint the wooden box. Choose the paint color you want. It may take a few layers to cover the entire box. Make sure to do the job neatly and nicely. You may paint the inside or not.
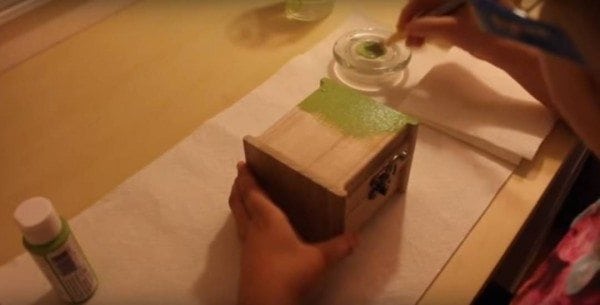
Get the black pen and start drawing the design. You may have it on top or on either side. Search on the Internet for inspiration. If done, fill it with paint. Choose the color that best complements the base color. Once done, get the mod podge and cover the entire box to make it waterproof and so that the paint won't come off. Also, it brings a glossy effect to your box.

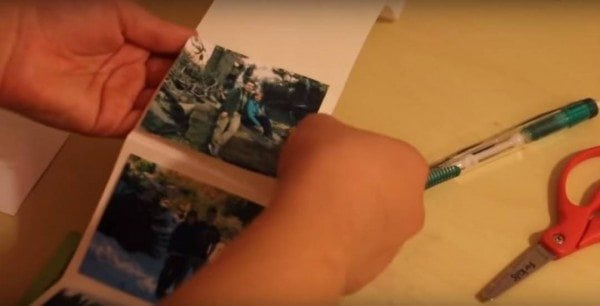
Prepare at least 8 photos you want to include in your photo album and cut off the excess so they fit in the box. Get the cardstock, cut it into long strips and fold it to make sections where you will place the photos. Ensure the cardstock also fits in your box. Tape the cardstock together and start placing each picture with glue in each section.
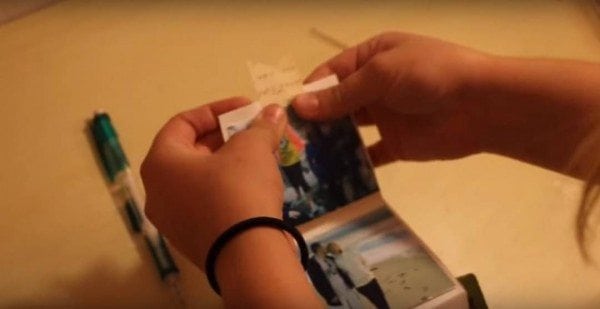
Cut a small sheet of paper and glue it behind the first picture. You will pull it for the pictures to come out. Additionally, you may write something like “Happy Valentine’s Day” or “I Love You” behind the first picture.
Now, it's time to secure the album into the box. Use the hot glue gun to place the last picture into the box, then fold the sections and close the box.