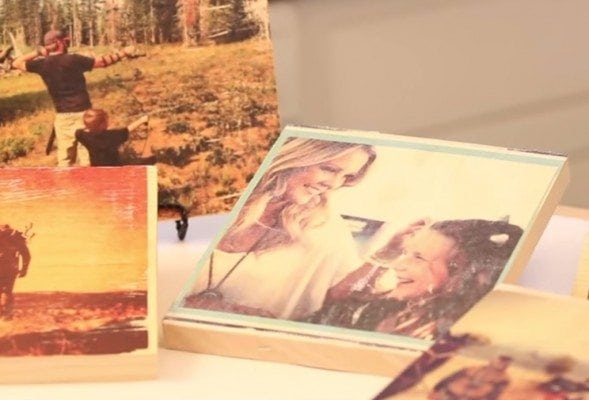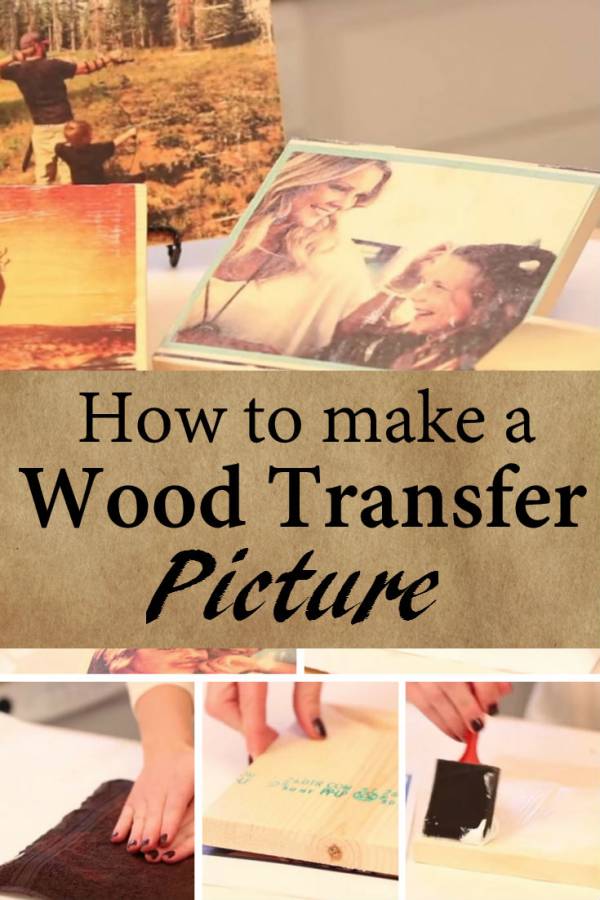
Give your photos an antique twist by transferring them to thick and tough wood. Absurd? No! This wood transfer picture is easy to make and your pals will surely be impressed. They will ask you every detail of it. No pounding on wood needed. It is also great gift for someone special.
What you need:
- Printed photo
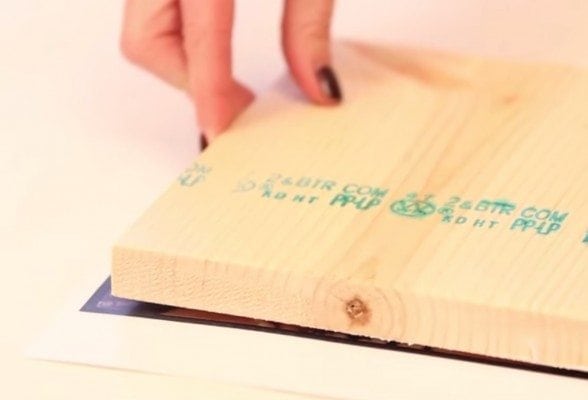
- 8 x 8 wood piece
- Gloss gel medium
- Sponge brush
- Mod podge
- Wash cloth
Ensure your photo is printed on a regular paper. The thinner the paper is, the better.
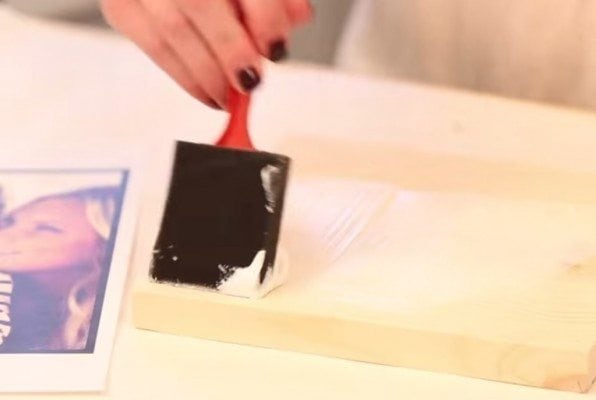
Apply a lot of gel medium on the wood piece using sponge brush. Make sure to smooth it out all over the wood.
Lay out the picture. Turn the wood over and press it down the photo. Turn it over and smooth the photo out to eliminate the air bubbles. Leave it overnight or for 8 hours to dry.
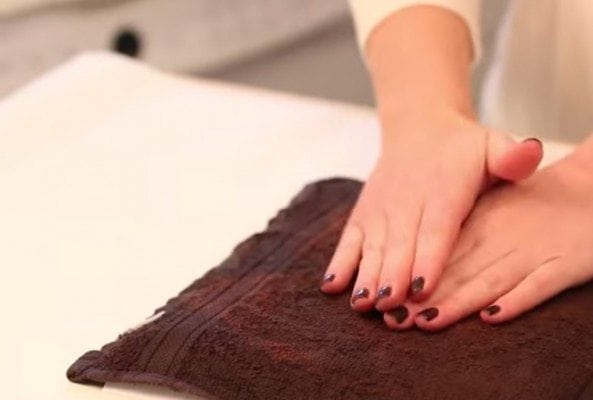
Take the wet wash cloth and put it on top of the wood. Push it down a bit to get the paper wet.
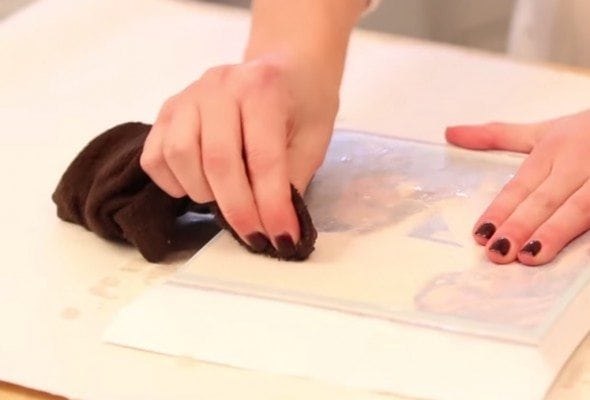
Then, start scrubbing the paper off the wood using the wash cloth leaving the picture on the wood. If there a bits of paper left behind, wipe it off again with the cloth. Once done, let the picture dry.
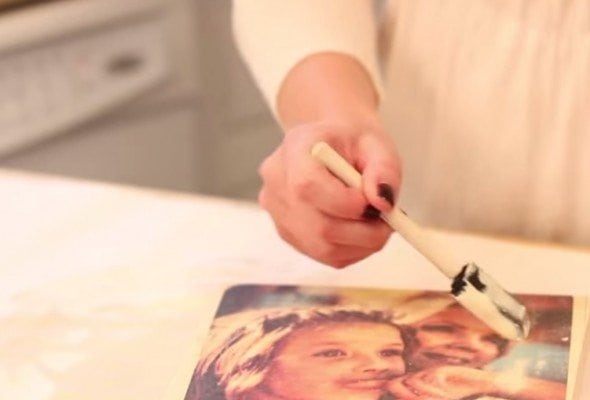
Apply about 2-3 coats of Mod Podge on the picture to protect and give the picture a glossy effect. Then, leave it to dry.
And you are finished! You can add picture hooks on the back to easily put it in display.