 I don't know about you, but I like knowing what is in my food–and what isn't, namely that it has not been genetically altered or covered with chemicals between field and store before landing in my kitchen. Well, Mom and some of my friends regrow produce from kitchen scraps, and my niece brings home classroom projects like beans sprouted in zip lock bags where they can observe the growth cycle. So I looked for some fuss-free tips using foods to regrow from kitchen scraps to fit my lifestyle and budget. Check out these eight that I found easy to grow.
-
Bean Sprouts
Our favorite beans can become fast-growing sprouts to enjoy in all kinds of salads. Add bulk, texture and crunch with these homegrown treasures by soaking overnight a tablespoon or two of your favorite beans covered in shallow water in a glass jar. Come morning, drain well and cover with a towel overnight. Rinse in the morning, and repeat a few days until you see sprouting, and let them grow to the size you want. Wheat berries and mung beans are popular bean sprouts favorites. Inject some crunch into gelatin salads with nutritious and delicious bean sprouts.
-
Tomatoes
Like bell pepper seeds or seed pods, you can plant and grow a salad from slices of tomato or its seeds. You can prepare the seeds and plant them for bumper crops in containers or ground. Simply put, you cover the seeds thinly with soil and keep moist but not saturated. These are so easy to grow, I put some scraps into my compost pile and the next thing I knew, voila–a mystery garden was growing outside my window!
-
Celery
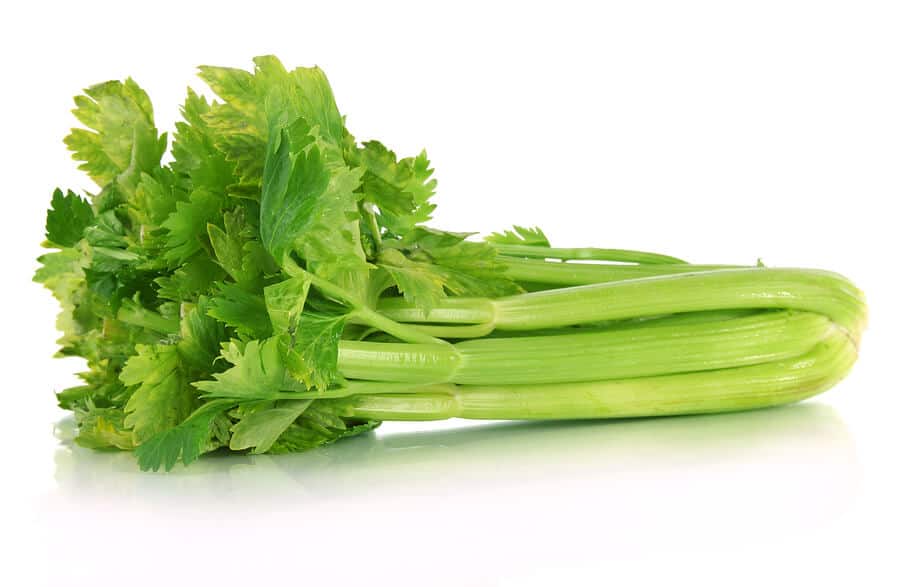
Image source: draxe.com Savory celery in soups, stews, and dressings; finely chopped celery surprises in my egg salad and stunning stalks bearing bleu cheese dressing or raisins on a log all remind me of pleasant memories while I chomp on a long, peanut butter-filled stalk. The white base at the bottom does well in a bowl of warm water, sunning itself for about seven to ten days until new stalks begin showing. Let leaves thicken a bit before transplanting to potting soil.
-
Spring Onions
Shallots and scallions, also called spring onions, can be regrown by cutting about an inch above the root base. Rehydrate by placing it into a glass container such as a vase, tall glass or jar with clean water. Set them on a well-lit windowsill or kitchen shelf and replace the water daily. When those green leaves grow, easy to snip and enjoy!
-
Lemon
Save seeds from organic lemons. Soak them in water a few hours, and dry on paper toweling. Gently peel the shell off the seeds, and place in water until soaked. Plant in potting soil in a flower pot. Add water to moisten, cover with pebbles and park in a sunny location. Water daily as needed to keep the soil moist.
-
Kiwi
Sprouted from seeds, kiwi have a vining growth habit so pretty to watch unfold as they mature. Germinating your seeds takes a few days before moving them to the sprouting process. After a few days, they will sprout enough to plant in soil in a container. Keep it moist, but not saturated, and in a warm, sunny location. Twelve hours of direct sun a day is not too much, so you can use a grow light if needed. Replenish nutrients in the soil 3-4 times a year by making a trench around the pot. Bring your plant inside for winter because kiwis are sensitive to cold.
-
Basil
Carefree basil livens up our favorite Italian dishes with its inviting aroma and flavor. Separate a few four-inch basil stems from a bunch, and use a sharp knife to strip all but the topmost leaves. Place the stems in a jar of water, and set in a warm, sunny but too hot location. Empty and replace the water every other day until the stems produce new roots. Plant into small pots with composted soil when the roots reach two inches long. Keep moist expose to six hours of direct sunlight each day. When you harvest your full-grown basil, leave some leaves instead of removing them all at once.
-
Potatoes
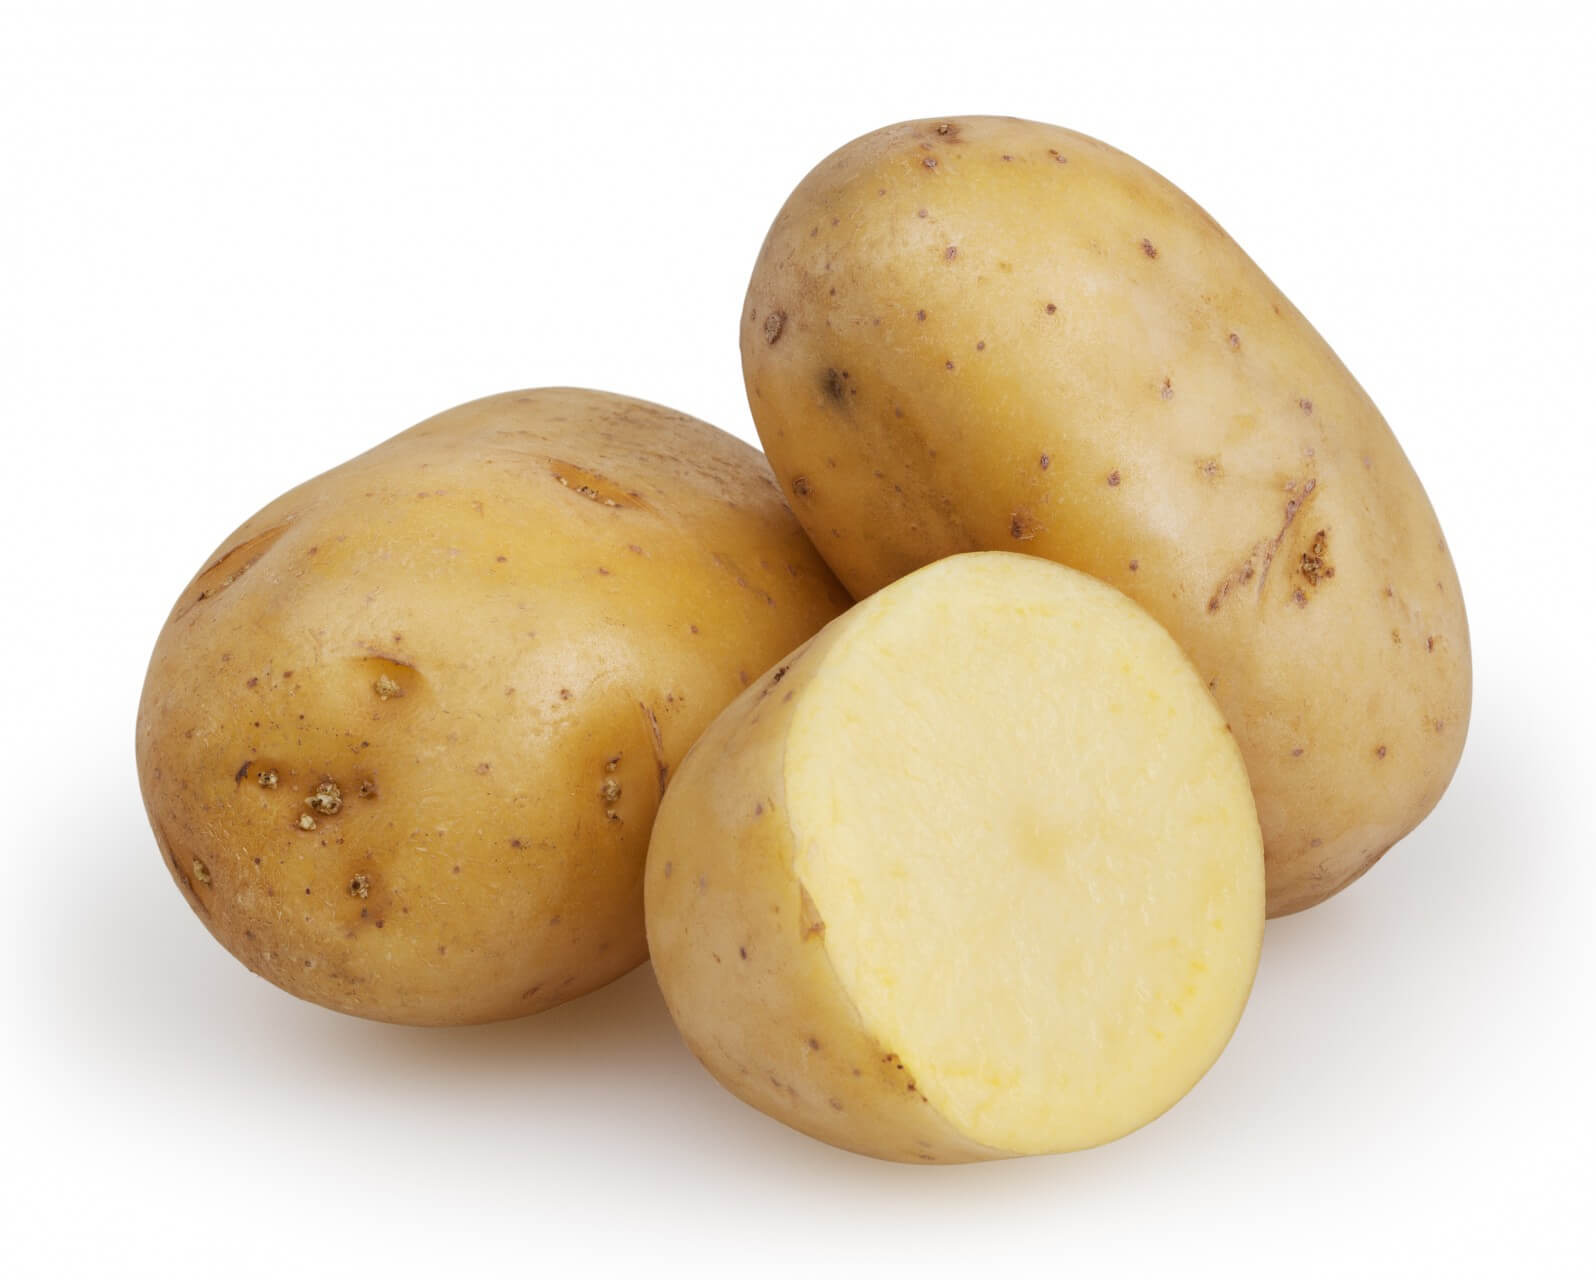
Image source: valleyspuds.com When it comes to growing potatoes, you first need to choose the right ones from the store. Many potatoes in stores sometimes have a coating sprayed on them to prevent them from sprouting, but you still can use them. They just take longer. Good reason to buy organic or get from a feed store.
Plant spud side up, and fill with more dirt as the plant grows. One spud yields 2-4 potatoes. When the leaves begin yellowing and wilting signals potatoes are ready. Container gardeners have an easy harvest process. Gently dump the pot onto a garden table or tarp, and carry your new potatoes right to the kitchen! Store harvested potatoes in cool, dry place out of sunlight to keep for months.