Looking for a rainy day project?
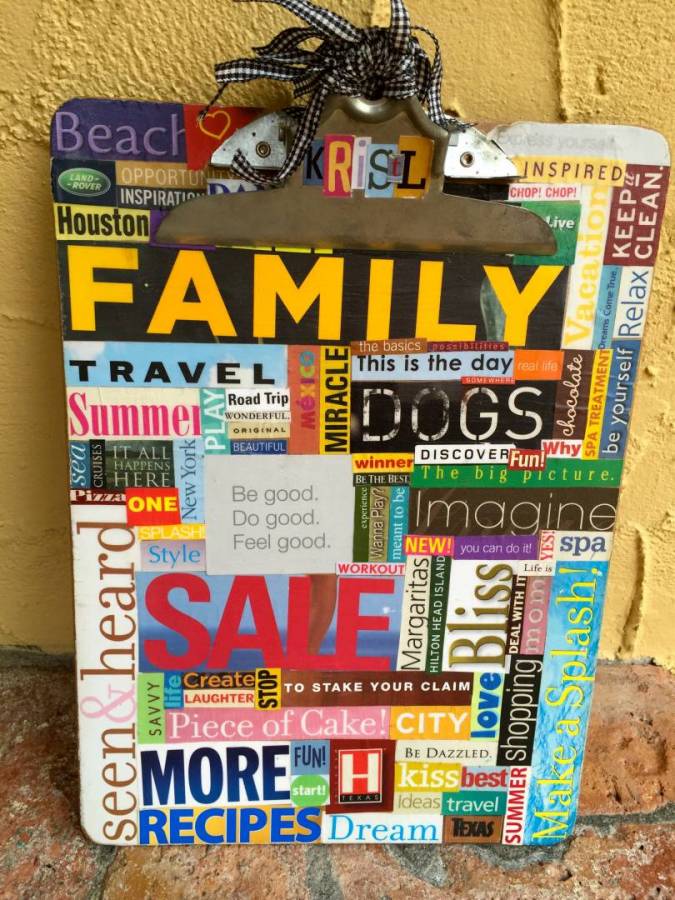
Make a decoupage clipboard!
This clipboard came to life years ago when our summer break began with rain, and continued with rain, rain, rain for three straight weeks.
My daughter had been looking forward to a summer of swimming and playing outside, but Mother Nature had other plans. We baked cookies, we put our rain boots on and trudged to the library, but we need more to fill our day. We needed a PROJECT!
I suggested a decoupage clipboard, and she was game, so we began our rainy summer project. It's easy, fun and no craft experience required.
How to Make a Decoupage Clipboard
Supplies: wooden clipboard, Modge Podge (I prefer the matte finish, but if you want a shiny finish…go for the glossy!), 1″ foam paintbrushes, acrylic sealant spray, magazines, small disposable bowls, old newspapers, fine sandpaper, painter's tape, ribbon
Instructions:
1. Cover your table with newspaper.
2. Flip through magazines cutting out words or phrases that catch your attention and reflect your personality. This was so much fun! We found ourselves cutting out words for each other, and we'd get sidetracked and start reading articles about bedroom decorating, or we'd find a new dessert recipe that looked yummy! Our project took many, many days which was a good thing!
3. Once you have about 20 words/phrases…break out the Modge Podge! We poured the Modge Podge into small disposable bowls.
4. Using your foam paintbrush, spread a thin layer of Modge Podge on a small area of your clipboard. Choose an area that will fit about 3 words.
5. Quickly place the words on the wet layer of Modge Podge and smooth out any bumps or wrinkles with your fingers.
6. Brush the tops of the words with another thin layer of Modge Podge.
7. Continue adding words and adding layers of Modge Podge. The more layers, the better! I like to let each layer dry about 15 minutes which is about how long it takes me to find another batch of words/phrases to add.
8. At some point, your project will begin to feel more like a puzzle as you try to find words to fit just right. I did not overlap my words, but there aren't any rules against it.
9. Once your clipboard is completely covered with words, let it dry completely.
10. Use the sandpaper to achieve a nice edge around your clipboard…always work in a downward motion, so you don't lift the words off the clipboard.
11. Cover the metal part of the clipboard with painter's tape, and take your clipboard outside to spray the entire front with acrylic sealant. Let dry according to sealant instructions.
12. Optional: add ribbon to the hole at the top of your clipboard.
Enjoy your unique, one-of-a-kind, full of personality clipboard. Mine hangs in my home office, and I love taking it to meetings…always a conversation piece and always a reminder of our fun rainy summer project.
Now that you've got the hang of it, next time there's a rainy day…make a cheap and cheerful gift for a friend!