If you have a laptop and PC, then mouse pad is one of the essentially and commonly used item for you. You can buy one for a few dollars, but sometimes, the designs are not pleasing. You had to go around the mall, looking for the one you want but end up with nothing. It is alright because you can make your own photo mouse pad in less than an hour.
You need:
- white cotton cloth
- iron
- decoupage
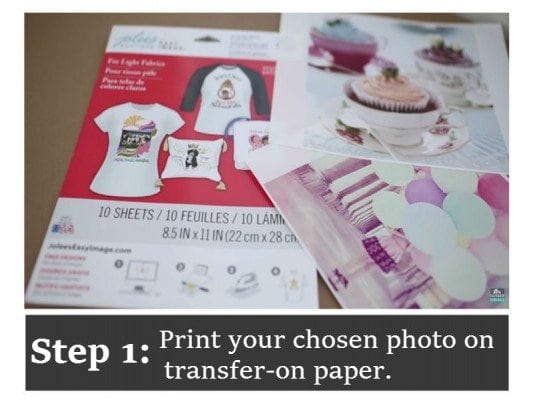
- transfer-on paper
- foam sheets
First, choose the photo you want for your mouse pad. The photo must be in high quality so printing won't be a problem. Once done, print that on the transfer-on paper. Ensure the image is large enough for the foam sheets.
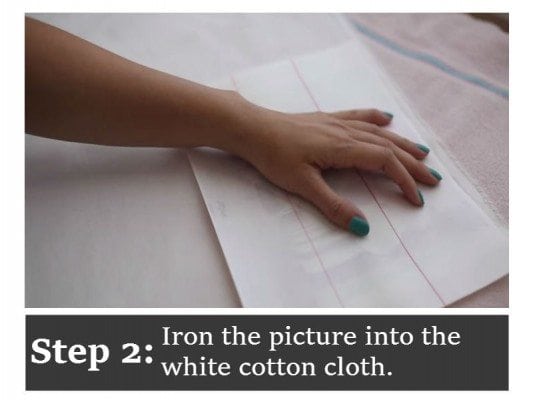
Next, iron the white cloth for wrinkles and fault lines disappear. Place the image on the corner of the fabric. Flip it over that the image is facing the fabric. Take the iron and gently press down the image. Make sure to heat is distributed evenly on the image.
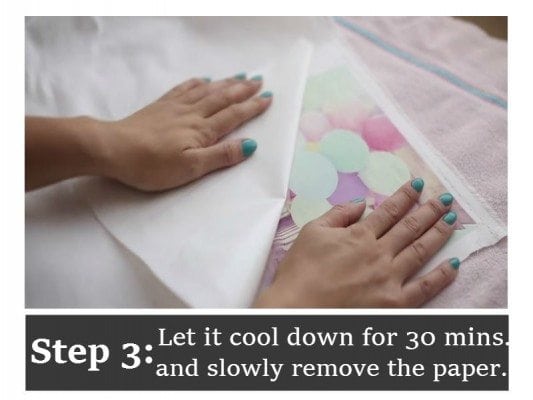
Let it cool down for 30 minutes or more. Then, start from the corner peel off the paper very gently, very slowly. Next, cut the cloth where the image is. Now, you have the cloth image for the foam sheets.
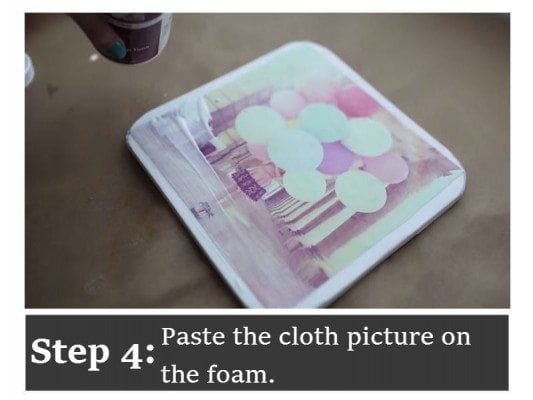
Get the foam sheets. Apply decoupage all over the side where you will place the image. Then, slowly, put the image. Be careful in placing the image to avoid wrinkles. Smoothen the cloth on the foam. If the cloth is well placed, again apply decoupage to seal and protect the image. Trim the excess foam. If you like rounded corners for your pad, use rounded cap to guide you.
And that's it! You have a mouse pad with the picture you adore the most.