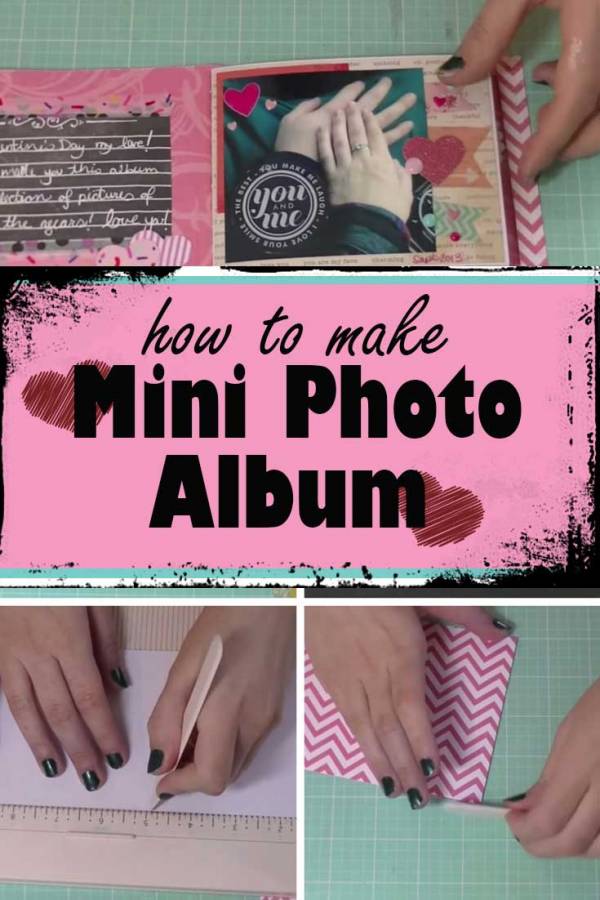
A photo album is an excellent gift for a family member, best friend or a special someone. If you want to put a personal touch to your photo album, you can customize it with the embellishments in any way you want. Today, we are making a mini photo album which will definitely put a smile on your significant someone.
What you need:
- 12″ x 4.5″ designed card stock
- 2 pieces of 4″ x 10″ white card stock
- Stapler
- Bone folder
- Double-sided tape
- Scissors
- Decorative paper
- Embellishments
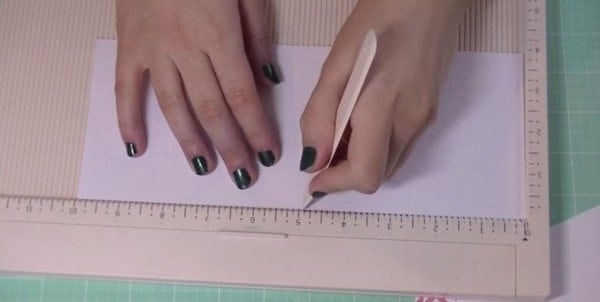
First, we will create a flap by tracing a line 0.5 inches from edge. Next, we will create the spine of the album. Trace two lines 5.5 inches and 5.75 inches from the edge. You can adjust the space between the line depending on your preference. Then, fold the lines neatly to create the cover of your album.

After that, grab the two pieces of white card stock. Measure 5 inches from the edge and trace a line. Do this on both card stocks. Then, fold on the line and if there is some excess paper, cut it out.
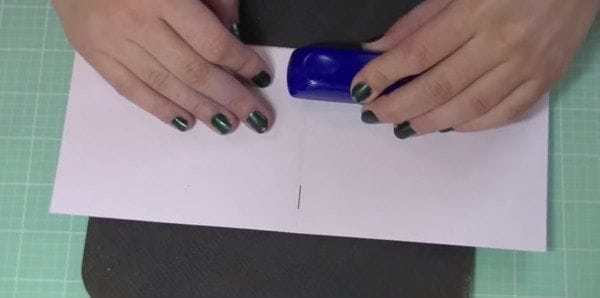
Next, we will bind the card stocks. Use a mouse pad or something spongy so you can easily staple the card stocks together. Have a bone folder to secure the ends of the staple behind the card. Place several double-sided tapes on the back of the booklet, so it can be placed on your album neatly. Make sure to place the booklet beside the spine of the album, not on the spine. And that's it! The mini album is complete! You can add more card stocks if you want.
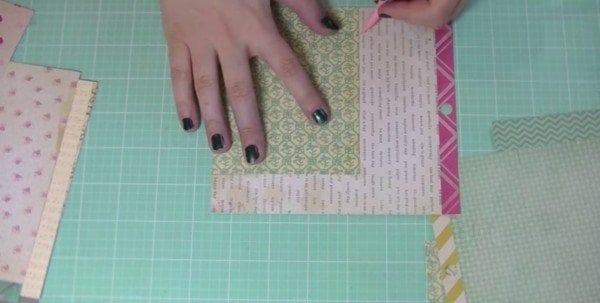
Now, we will decorate the photo album. Since plain white is boring, we will use photo mats to beautify your project. You can use old pattern papers for this task. Cut out the decorative papers the same size as the booklet. Then, skillfully paste the paper on the stocks.
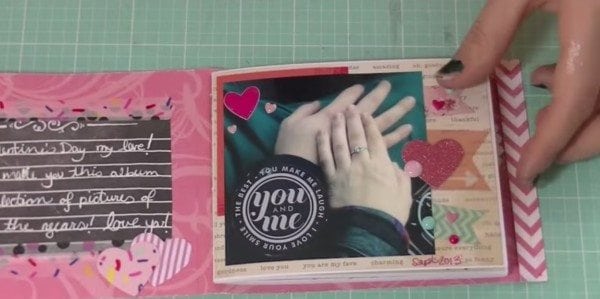
Put in the photo and place embellishments depending on whom you will give the album and what the occasion is. In this tutorial, a Valentine's Day mini photo album was created complete with love quotes, heart-shaped decor and of course, a photo of the couple.
Watch How it is Done