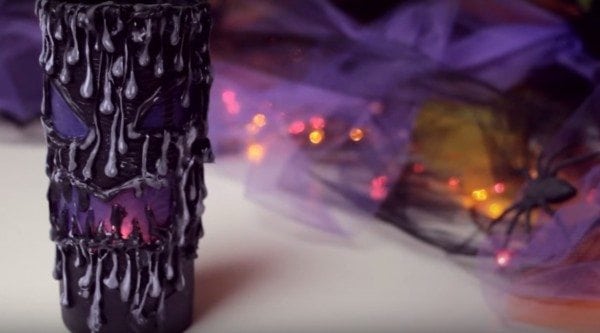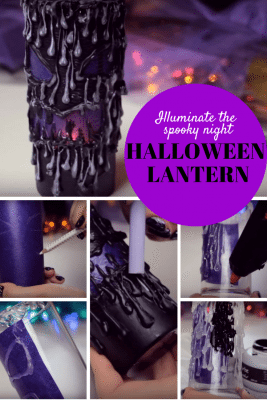
Spooky Halloween lantern is a must-have of houses this coming season. This DIY lantern is very easy to make and cost very little. Placing it in your walkway adds an eerie ambiance that will surely scare off your neighbors. If you are ready, then let's begin.
What you need:
- Tall drinking glass
- Chalk
- Colored transparent paper
- Glue, scissors, marker
- Glue gun, glue sticks
- Blackboard paint
- Paintbrush
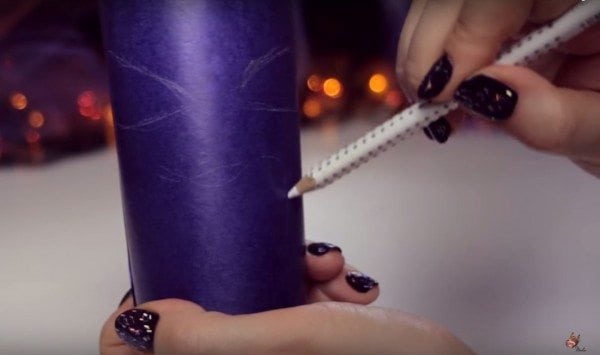
Wrap the colored transparent paper around the tall glass to determine where to draw the scary face. Grab the pencil and start sketching the eyes and mouth. Once done, remove the paper and lay it on the desk and finalize the face. If you are happy with the face, cut the excess paper around it leaving about 2 centimeters on each side. Apply some glue on the back of the paper and stick it on the glass.
Now, we are add texture to the lantern. Grab the glue gun and apply hot glue on the face following the outline. Do this task nice and slow.
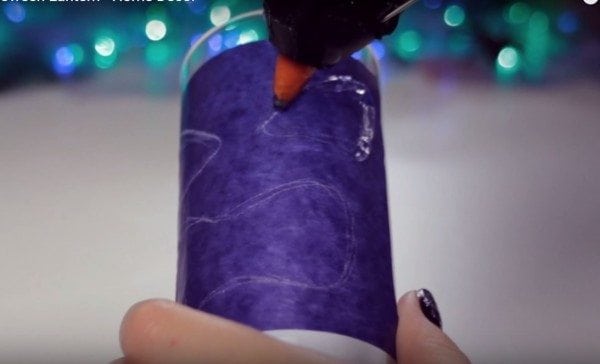
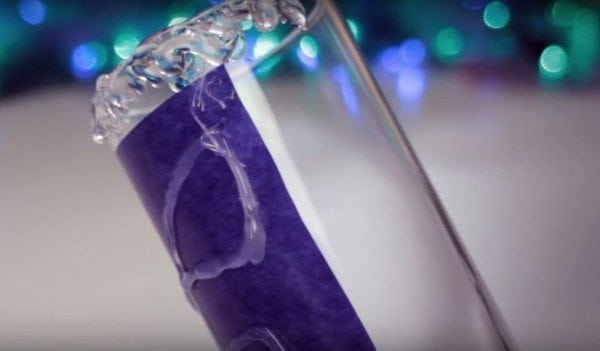
Next, put hot glue around the rim of the glass. Do this in a wavy motion imitating a melting wax.
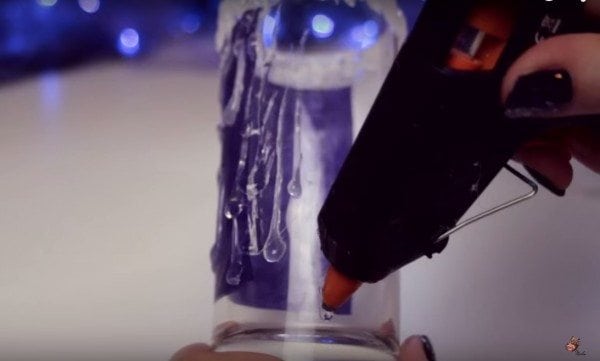
Add some details on the surface of the glass. Put hot glue on one point on the glass and move to the top. It looks like the melted wax is dripping. You may also start at the bottom of the glass and move to the top. Repeat the step until you achieve the desired look of the lantern. Once done, let it dry for half an hour or so.
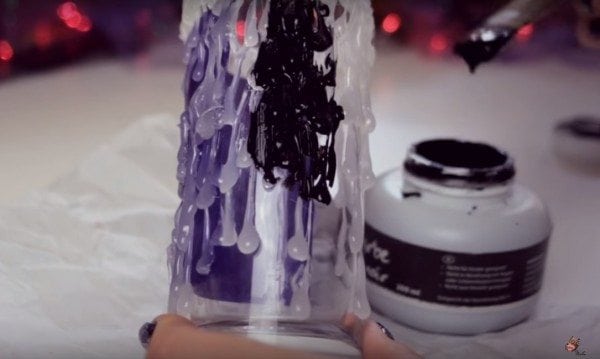
Once dry, start painting your the glass with blackboard paint. Make sure to cover up the top and around the glue or else the light will get through it. Around the face, use a thinner paintbrush to avoid painting the eyes and mouth. Then, let it dry.
For the final touch, put chalk on each drop and smear it. This is to give a 3D effect on the Halloween lantern.

And you're done! Put a candle inside the glass and let it illuminate the spooky night.