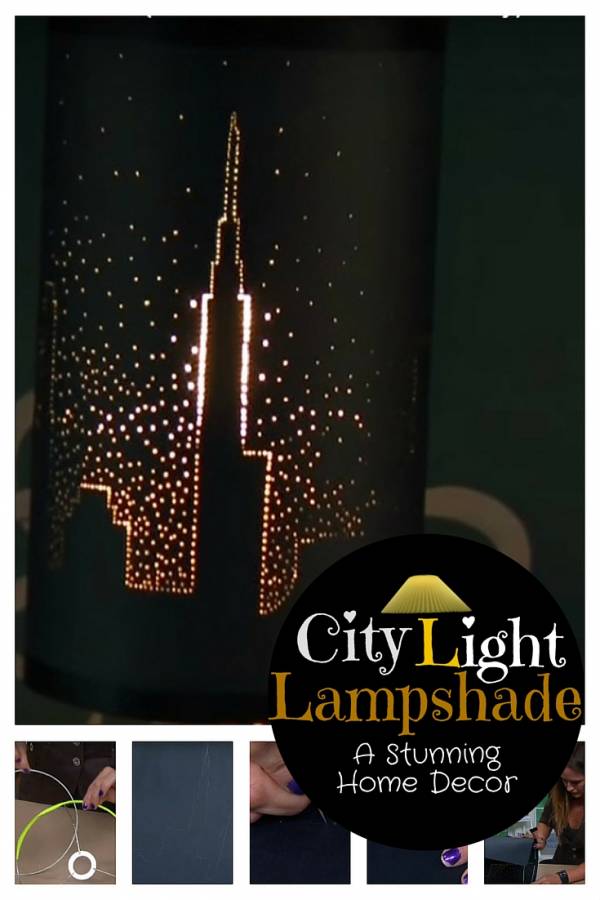
Getting bored of your dull lampshade in your room? Are you planning to buy a new one? Try this DIY project and bring a creative twist to your old lampshade. Redecorate the lampshade and brighten the room with city lights.
What you need:
- Old lampshade
- Straight pin
- Tape
- Black cardboard paper
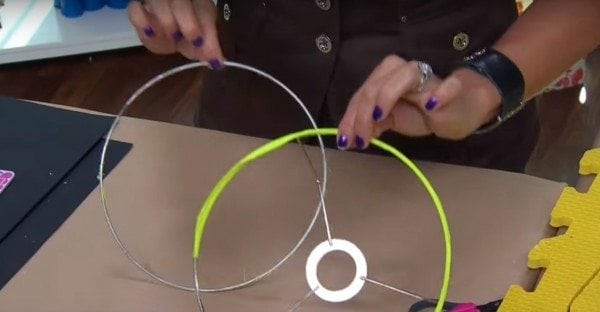
Take the old lampshade and rip it apart leaving the main skeleton of the lampshade.
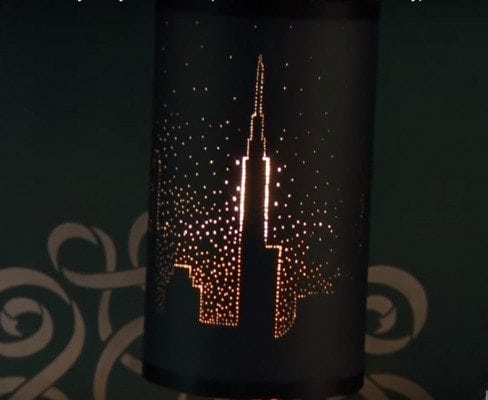
Grab the black paper and draw the skyline. Use the ruler to achieve straight and uneven lines of the buildings.

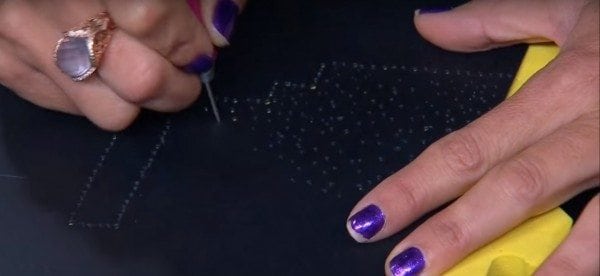
Take the pin and start punching small holes following the outline of the drawing.
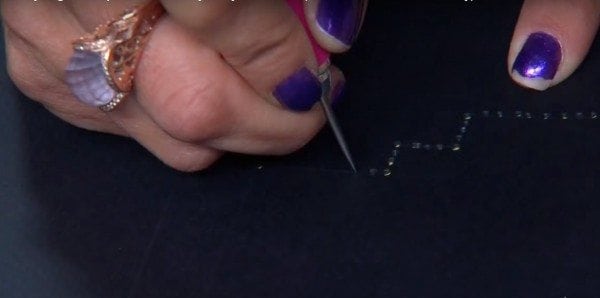
Punch holes around the building patterns, then spread it out creating the stars in your skyline.
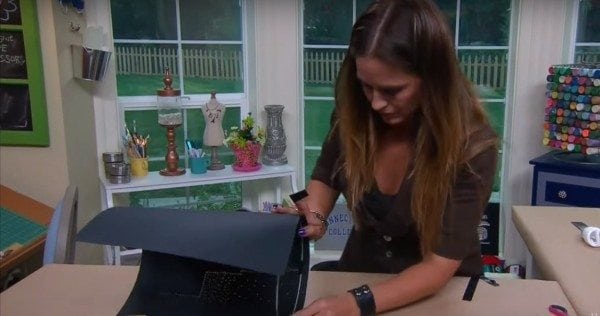
Flip the paper and place one skeleton at the bottom. Tape it to secure it in place. Roll it away from you then put tape to glue it in place. Continue going around the skeleton. Do the same on the top side.
And you're done! Place it on your lamp and light it up. Enjoy the beautiful skyline before you go to sleep.