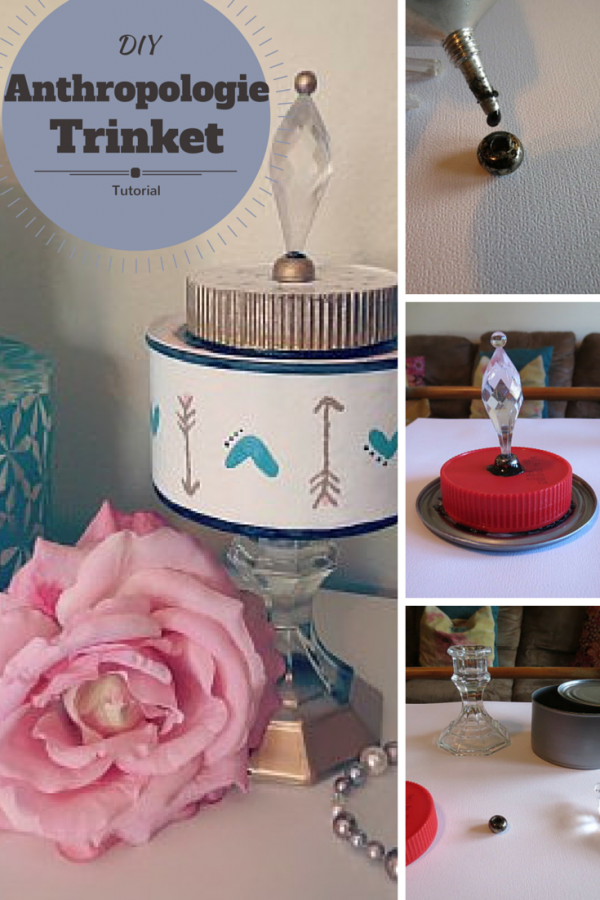
If you're like me, you absolutely LOVE Anthropologie…but you're not so fond of their prices. The chic and boho designs are fantastic, the sometimes muted and sometimes bold color schemes are great, but paying $80 for a trinket dish is a little out of my comfort zone. So, I created an Anthropologie-style trinket dish that you can make for less than $2! Yes…seriously.
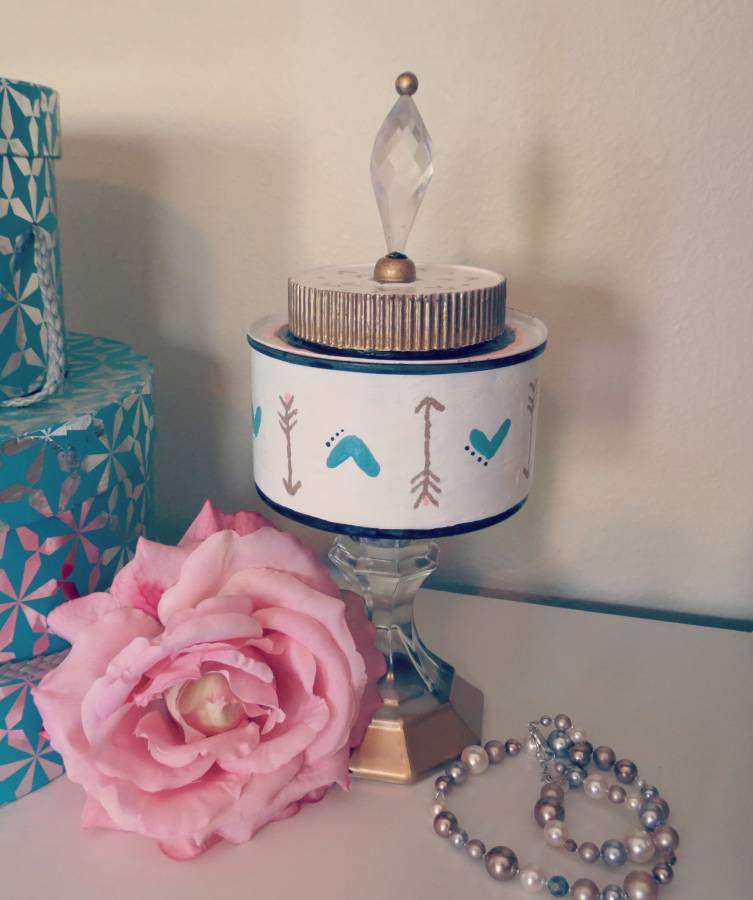
Isn't it cute? It's a little bit boho, a little bit glam but a lotta bit cheap. Let's get started.
Materials You'll Need:
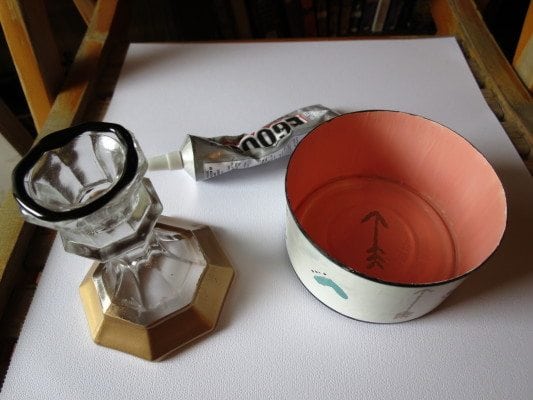
- 1 shallow, wide can (I used a 12.5 ounce can) washed and dried
- 1` peanut butter jar (or other jar) lid
- 1 glass or wooden candleholder (available at most stores for $1)
- Finial to use for the lid (I used a plastic drop chandelier prism and a wide bead – materials I already had on hand)

Other Supplies:
In addition to the materials, you'll need a few other supplies. I already had all of these things on hand and if you're a crafter, you probably do as well.
- E6000 Glue
- Gold Spray Paint
- Clear Spray Paint
- Acrylics (in whatever color you want your finished dish)
How to Make the Dish:
Step 1:
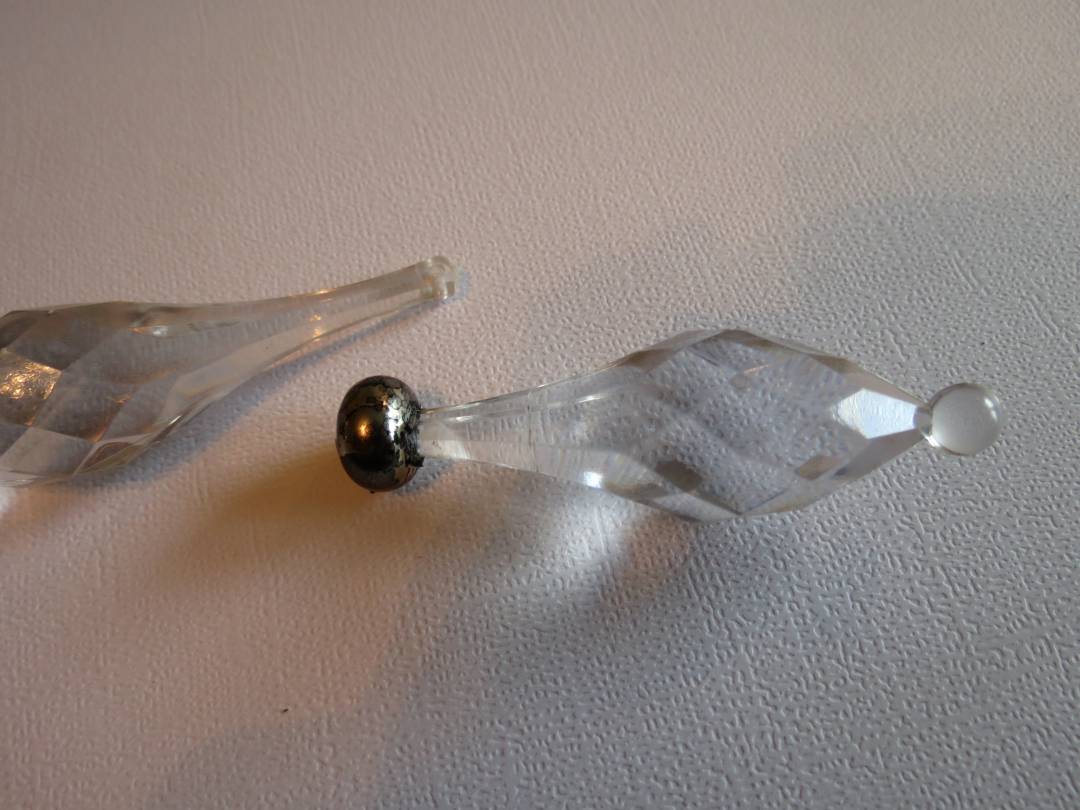
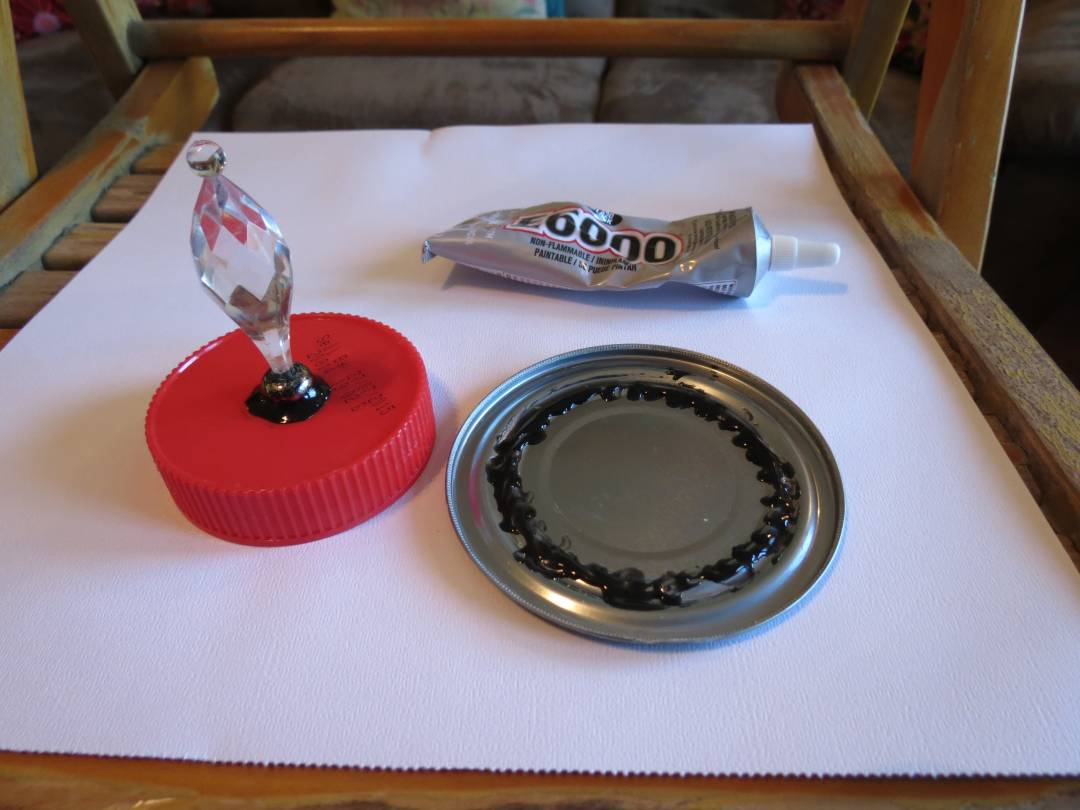
The very first thing I did was break my drop crystal so it would be a little shorter, removing the end piece that had the hole for hanging.
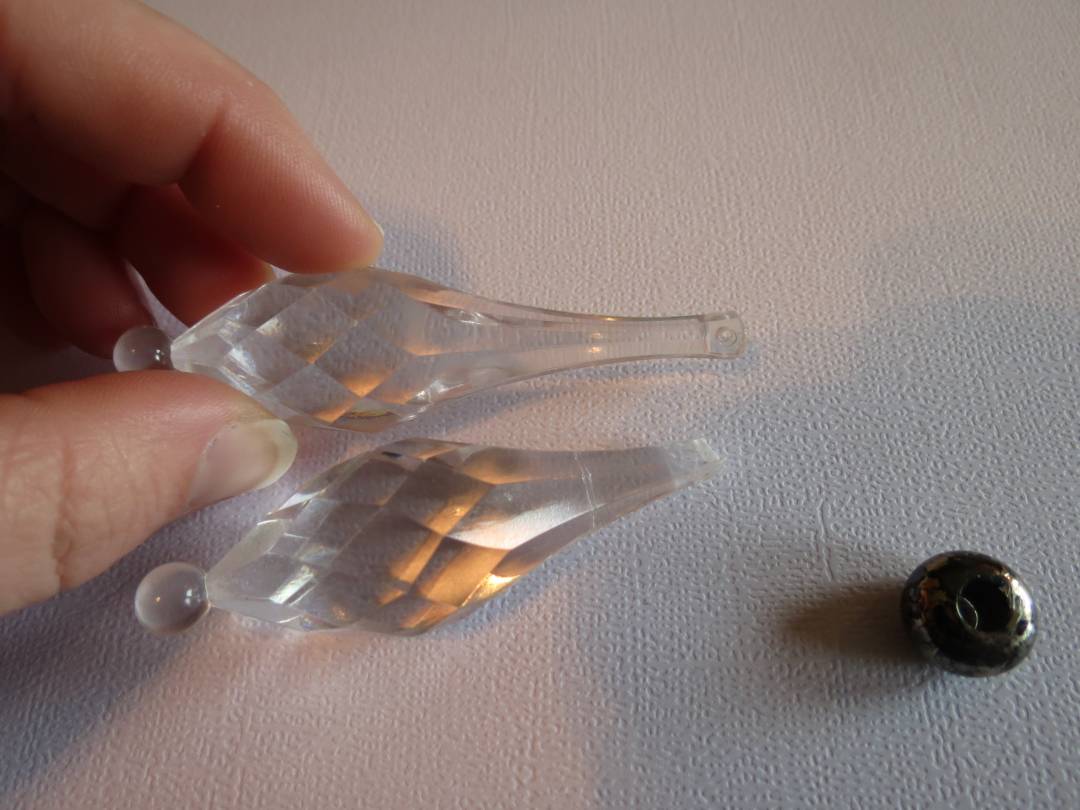
Here I've placed the broken one beside an intact one so you can see exactly what I did. You do not have to rush out and try to find an obscure plastic drop crystal. You can literally use almost anything for the top, from a drawer knob to an old perfume cap.
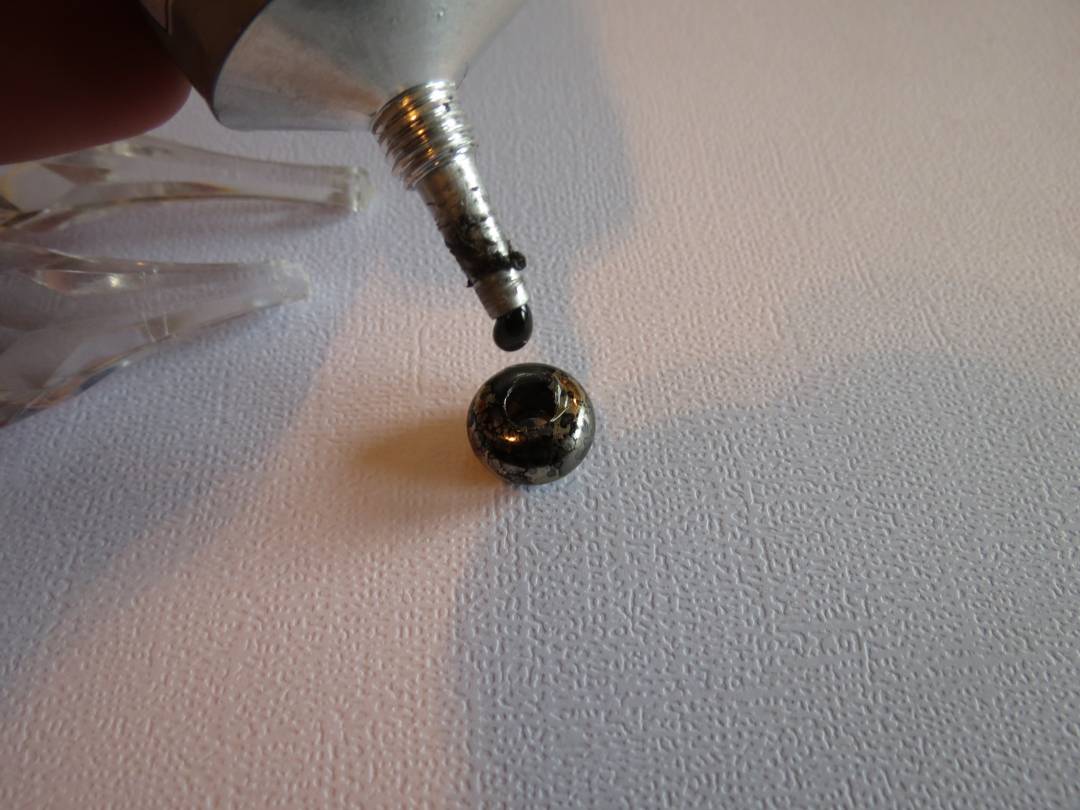
Next I added some of the E6000 glue to the inside of the wide bead I had. This was one of those European bracelet beads and I removed the metal caps from each end. It's important to let the glue sit for at least two minutes before mating the surfaces of the items you're gluing.
Once you've got that part together, put it aside. If you're using a drawer knob or something else as your finial, just ignore step 1.
Step 2:
With my fake finial drying, I moved on to the next step, which was painting the can. You can use a primer if you choose to; I didn't, so the can looked pretty bad after the first coat.
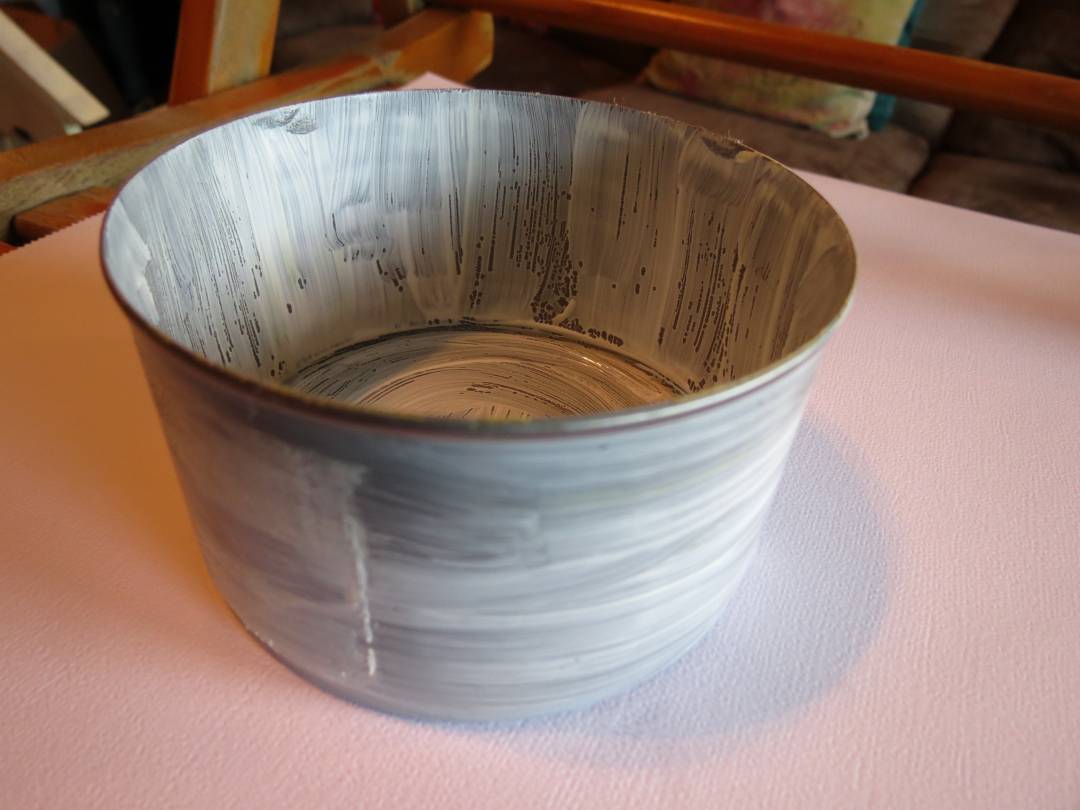
Don't worry – after the next few coats, it will start to look a lot better. I used Apple Barrel white acrylic paint and I did about 5 coats, letting the paint dry fully in between each one. I decided I wanted the inside a different color, so I mixed up a coral shade (popular for many items at Anthropologie) and painted the interior of the can.
Step 3:
Once you've got the can painted, you can start to assemble the lid. Whether you're using a drawer knob, another type of finial, or the method I used, you'll want to attach it to the peanut butter lid or jar lid you've saved for your project.
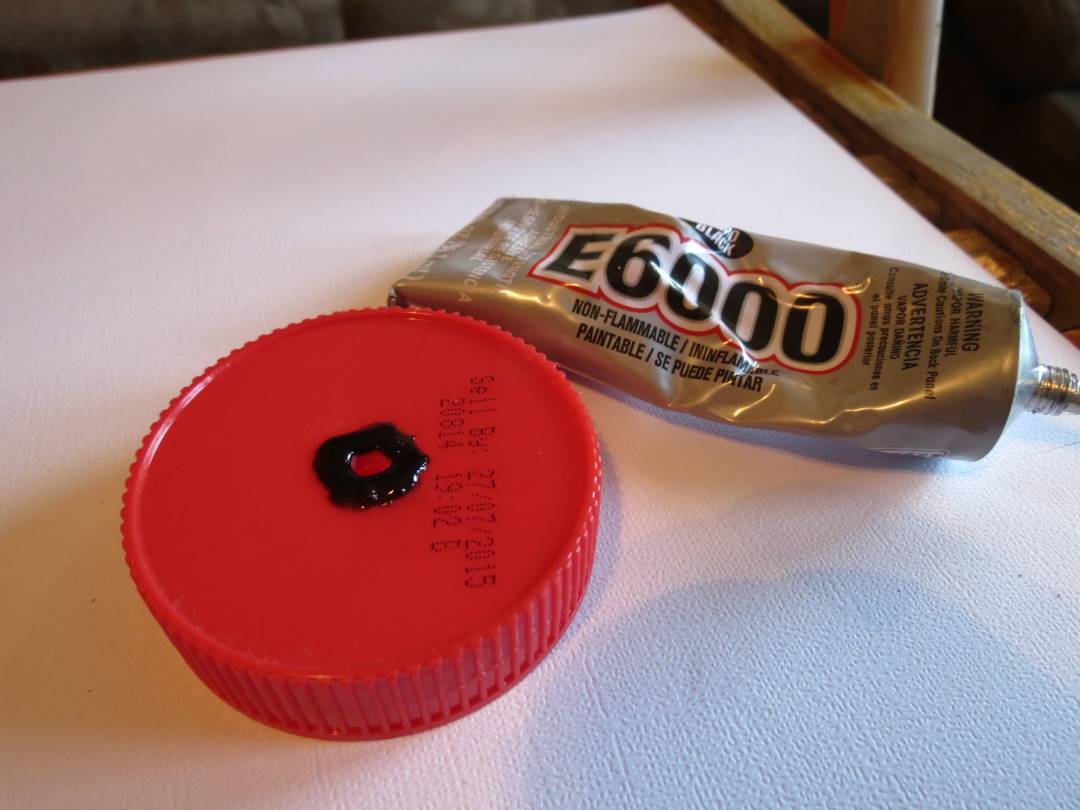
Once again, add your E6000 glue and allow it to sit for 2-5 minutes before attaching the finial to the lid. As you can see, I didn't even bother trying to remove the expiration date from the lid, as we're going to just paint right over it! 😉
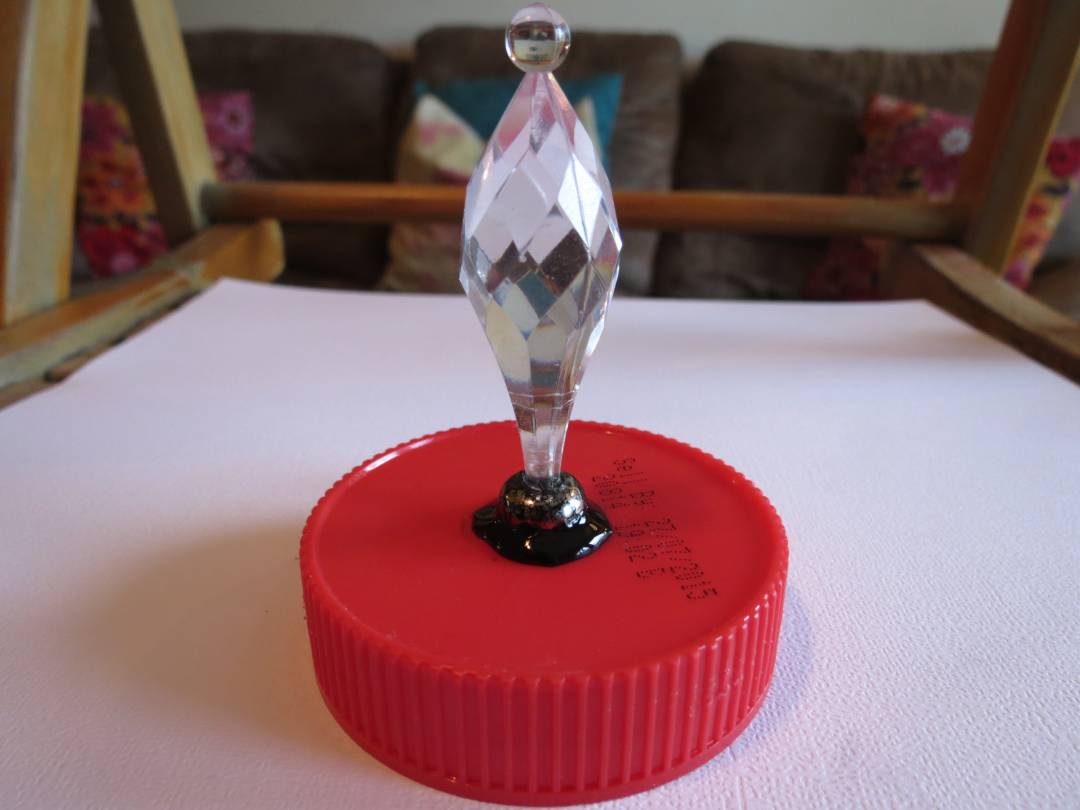
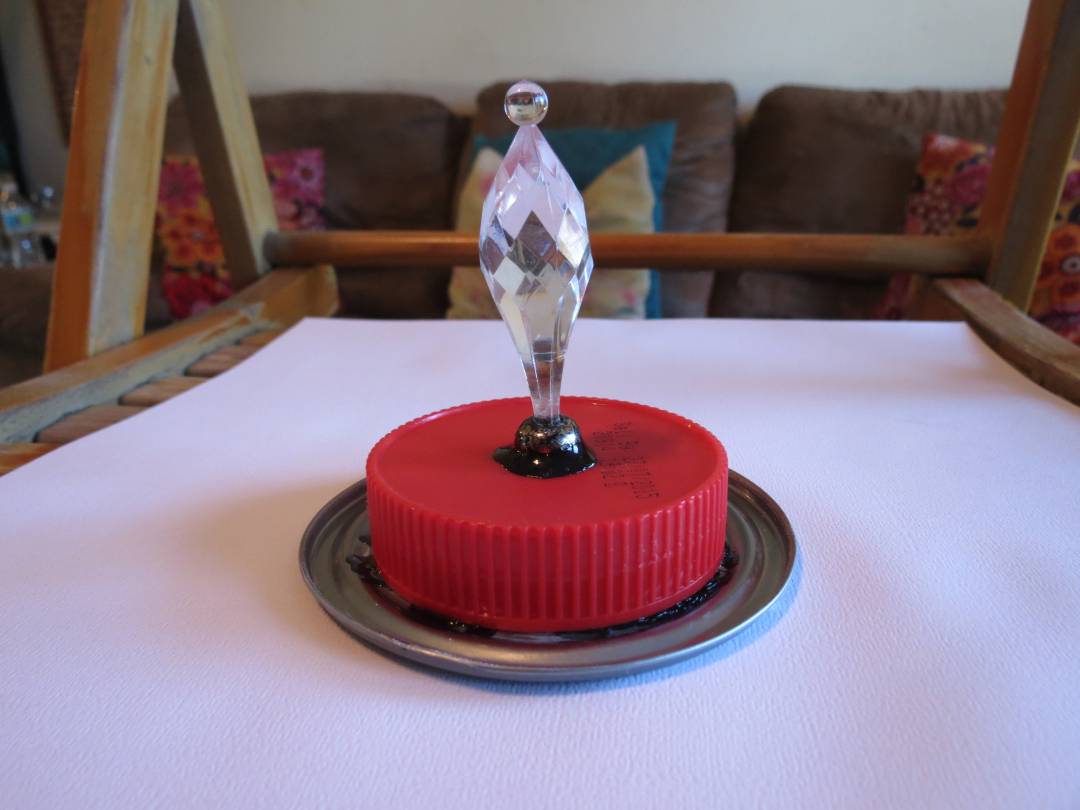
Now, simply attach the finial to the lid and move that part off to the side to allow it to dry. I like to let items dry for a few hours, at least. The glue recommends waiting overnight, but I am impatient!
Step 4:
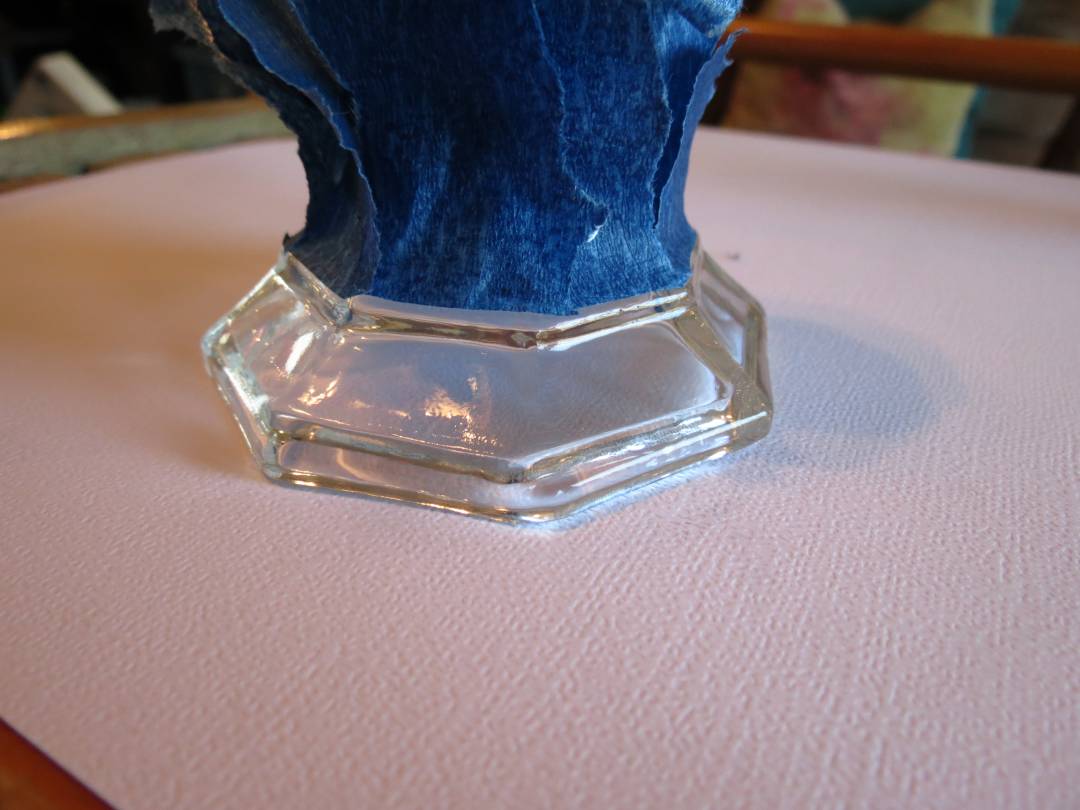
While waiting for the finial to dry, I moved on to the candleholder base. I wanted to give it a “gold-dipped” look like I've seen on so many items at Anthropologie. So, I went ahead and taped off the area I wanted to remain clear using painter's tape.
 Next, I gave it two quick coats using Krylon Gold Metallic spray paint. You don't have to use this brand if you don't want to – it's just a brand I'm familiar with and a product I use often.
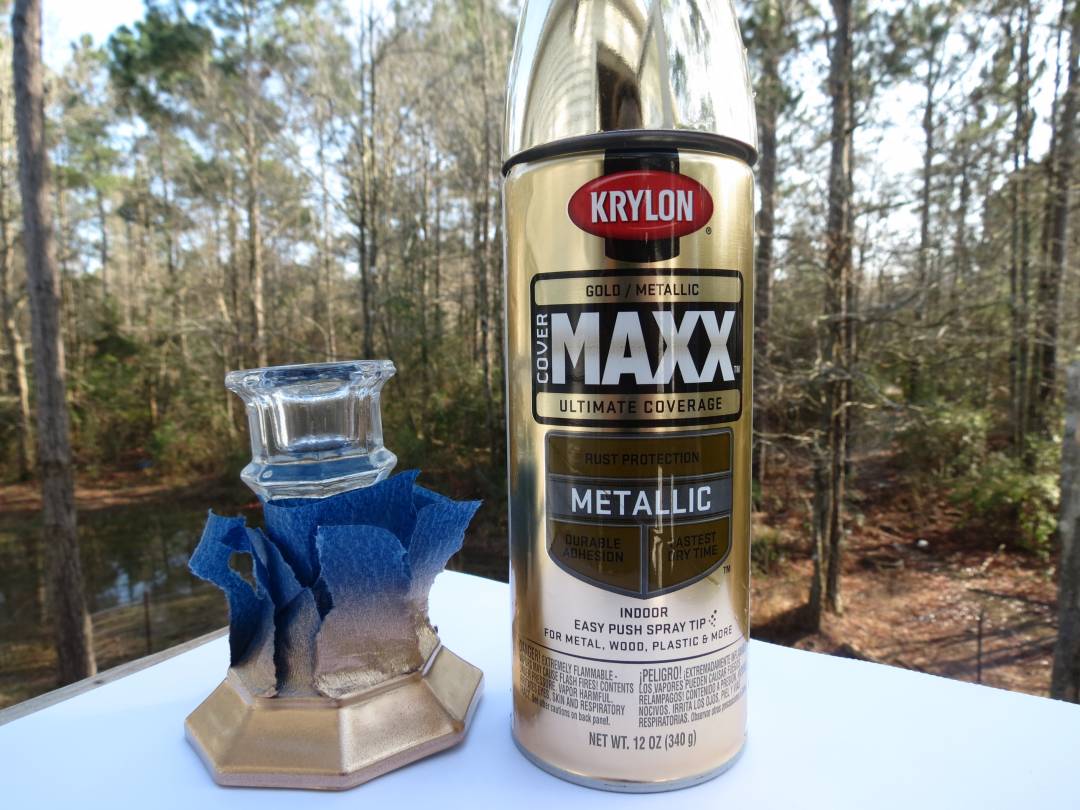
This is a fast-drying paint, so you can paint your second coat just a few minutes after the first. However, once you've completed two coats, give it about fifteen minutes to dry so the paint doesn't peel up from the polished glass.
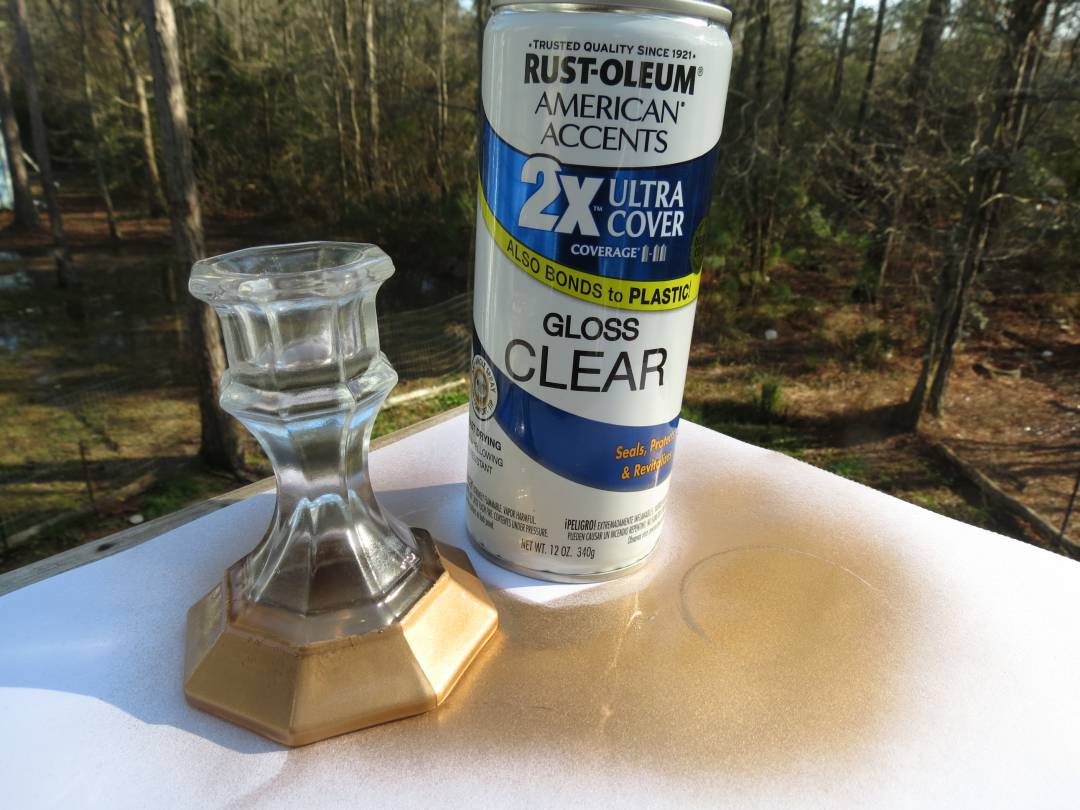
Then, give it a quick coat with the clear spray paint so it will stay put.
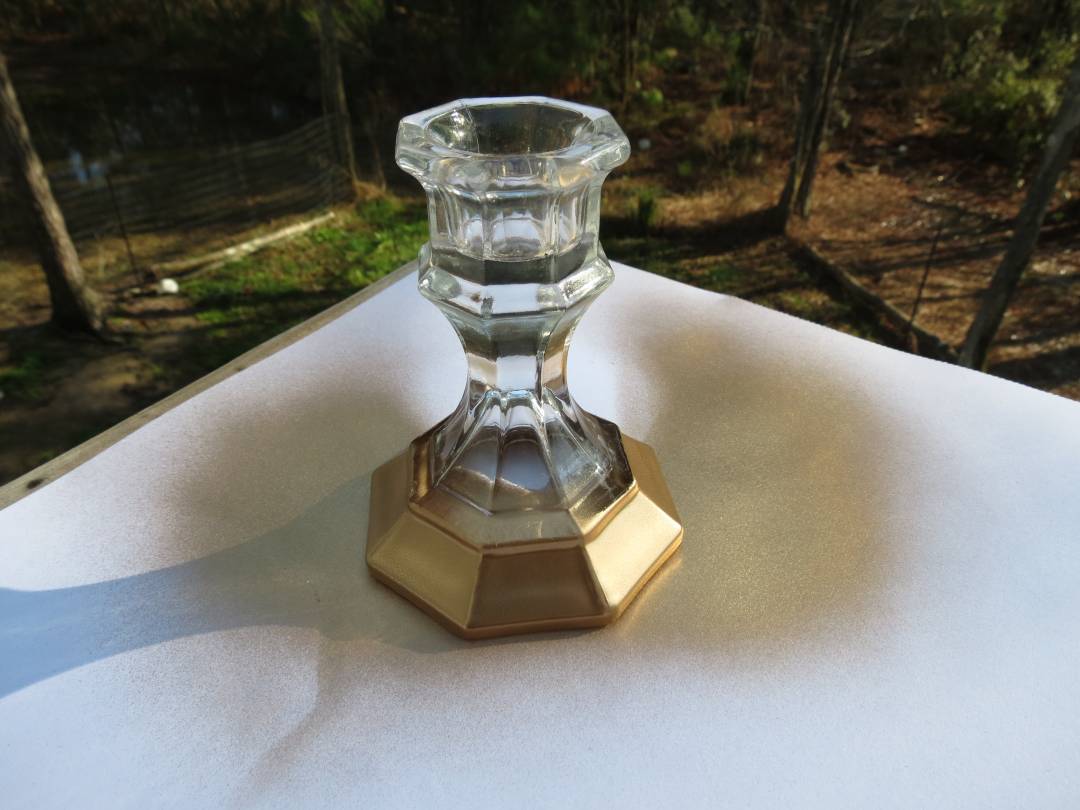
Voila! You now have a gold-dipped base for your trinket dish!
Step 5:
Once your finial has dried to the jar lid, you're going to attach that to the can lid.
Go through the same process with the E6000 glue, and attach after a few minutes.
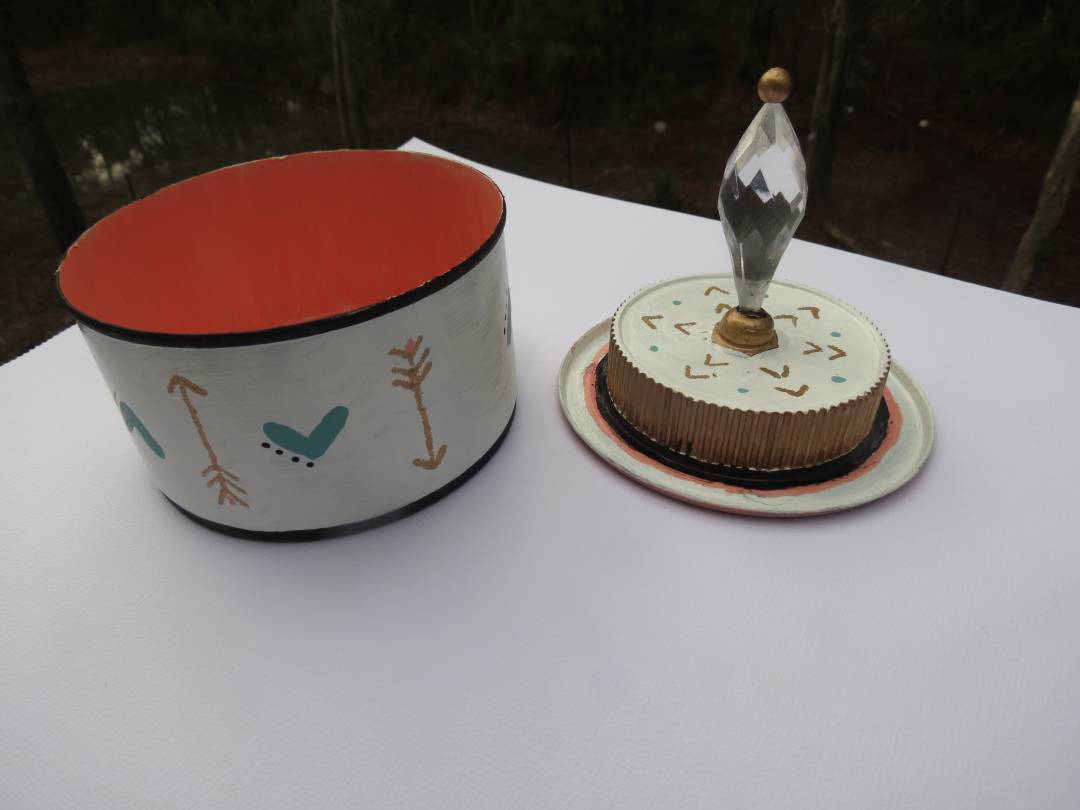
Now, allow this to dry for at least a few hours. While I waited, I added some designs to the bottom of my can. I painted gold arrows, teal hearts and a few black dots here and there but you can feel free to do whatever design you'd like. Stencil letters onto it, make it match your bathroom or bedroom decor…have fun with it.
Step 6:
Once your trinket dish lid is completely dry, you can go ahead and paint it. Once again, it's not looking too hot after the first coat, but after about 5 coats, it will look much better.
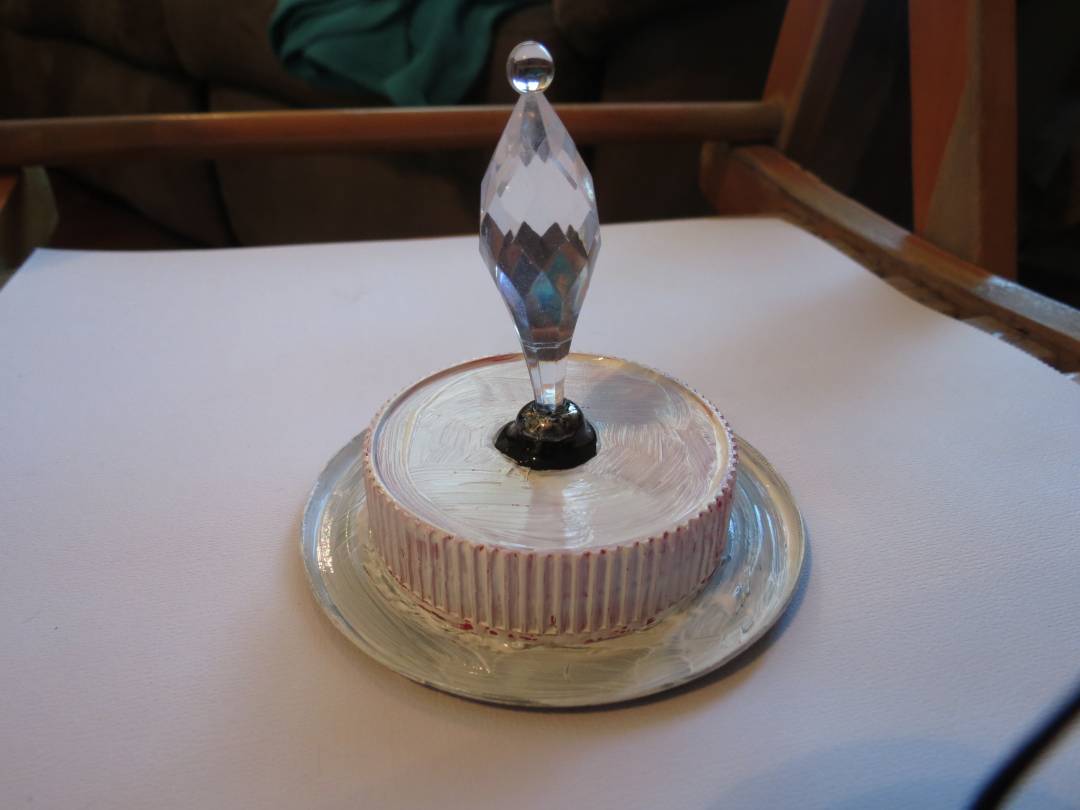
After your base color is completely dry, you can add matching designs to the lid as well.
Step 7:
After the paint is completely dry on both the bottom and the top of the trinket dish, everything gets a clear coat!
 Let the clear coat dry thoroughly before moving on to the next step. For me, this took about 30 to 45 minutes.
Step 8:
Now you're going to attach the bottom of the trinket dish to the candle holder base.
Apply your glue, allow it to sit for a few minutes and then attach the pieces, making sure they're lined up correctly so that the candleholder sits directly in the center of the trinket dish.
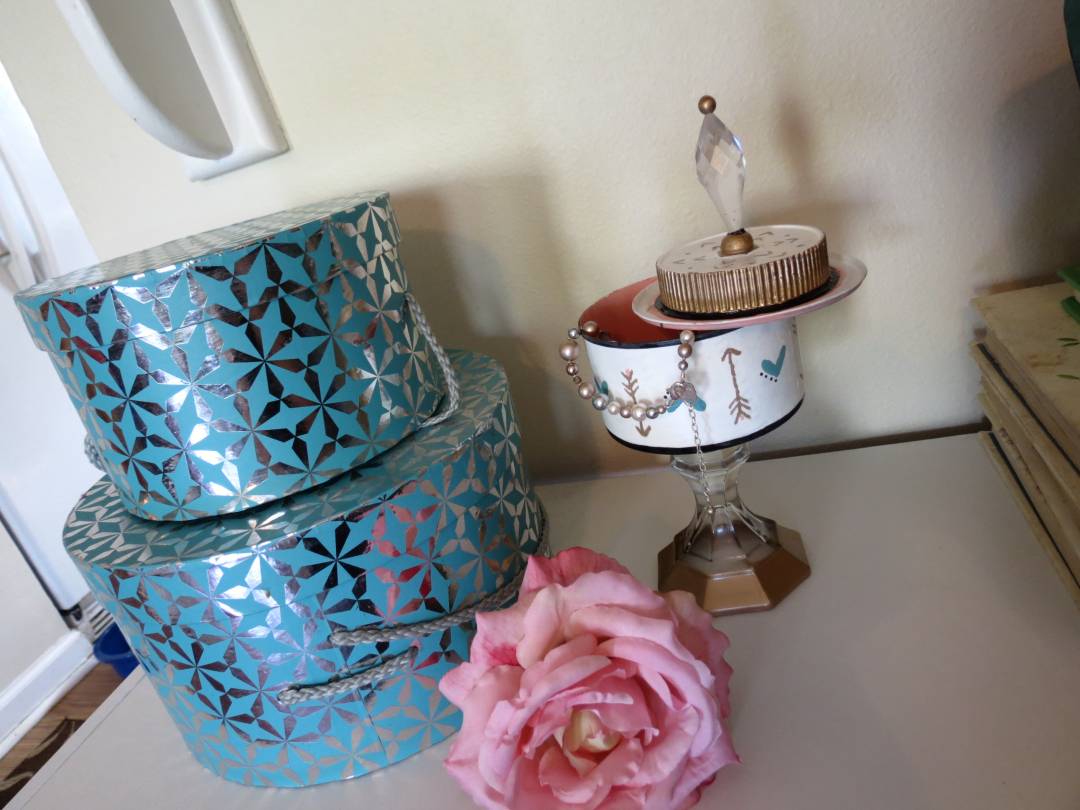
And that's it! Now you have an Anthropologie-inspired trinket dish that literally costs less than $2 to create. No one will ever know what it's really made from unless you tell them. Make these for small gifts, or just for fun.
I loved this project and I thought it came out really well. I think I'll experiment and make a few more using different size cans and taller/shorter candle holders. Let us know what you think in the comments below – do you love this cheap and glam trinket dish? Will you try to create it?